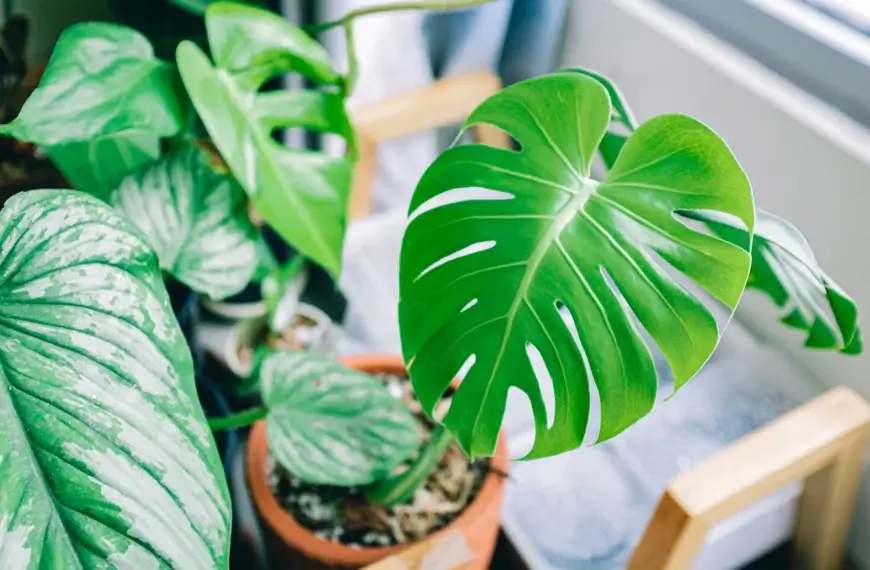
Understanding Aloe Vera Propagation
Propagating Aloe Vera is an easy and cost-effective way to grow your collection. To make sure you produce healthy plants, it’s important to understand the different ways of propagating Aloe Vera. Here’s a guide!
- Use sanitized tools to remove pups from the mother plant.
- Cut off damaged leaves with a sharp knife.
- Dip the wound in rooting hormone prior to planting the pup in fresh potting soil.
Be mindful as over-watering can cause root rot. Also, each new plant from propagation will have characteristics from its parent plant like size and color variations.
For maximum success rates, propagate Aloe Vera during its active growing season, which is springtime.
Try this simple yet fruitful skill for successful Aloe cultivation! Propagate and watch your collection thrive! Tinder matches can’t beat that feeling!
Different Methods of Propagation
Different Approaches to Propagating Aloe Vera Plants
Aloe vera plants can be propagated through different methods. Here are some of the most effective ways to propagate aloe vera:
| Method | Description |
|---|---|
| Leaf Cutting | Remove a mature leaf and allow it to air dry before planting it in well-draining soil. |
| Pup Division | Separate the offsets or small plants that grow near the base of the mature plant and plant each in a separate pot. |
| Seed Germination | Collect and plant the seeds in well-draining soil and keep them warm and moist until germination occurs. |
It is worth noting that while leaf cutting and pup division are the most common propagation methods, seed germination is a more time-consuming process that requires patience.
It is important to keep in mind that when propagating aloe vera plants, using sterile tools and soil will help prevent disease and increase success rates.
To ensure a higher success rate, water the newly planted sections sparingly until they have established their root systems. Once established, gradually increase the amount of water and fertilizer for optimal growth.
With proper care, any of these methods can help you propagate aloe vera successfully, allowing you to have an abundant supply of these useful and versatile plants.
Don’t worry, you’re not cutting off a limb – just a leaf. The Leaf Cutting Method for propagating aloe vera is as harmless as a trip to the barber.
Leaf Cutting Method
Leaf Propagation: Growing New Plants Through Leaf-Cutting.
A 5-step tutorial on how to achieve this:
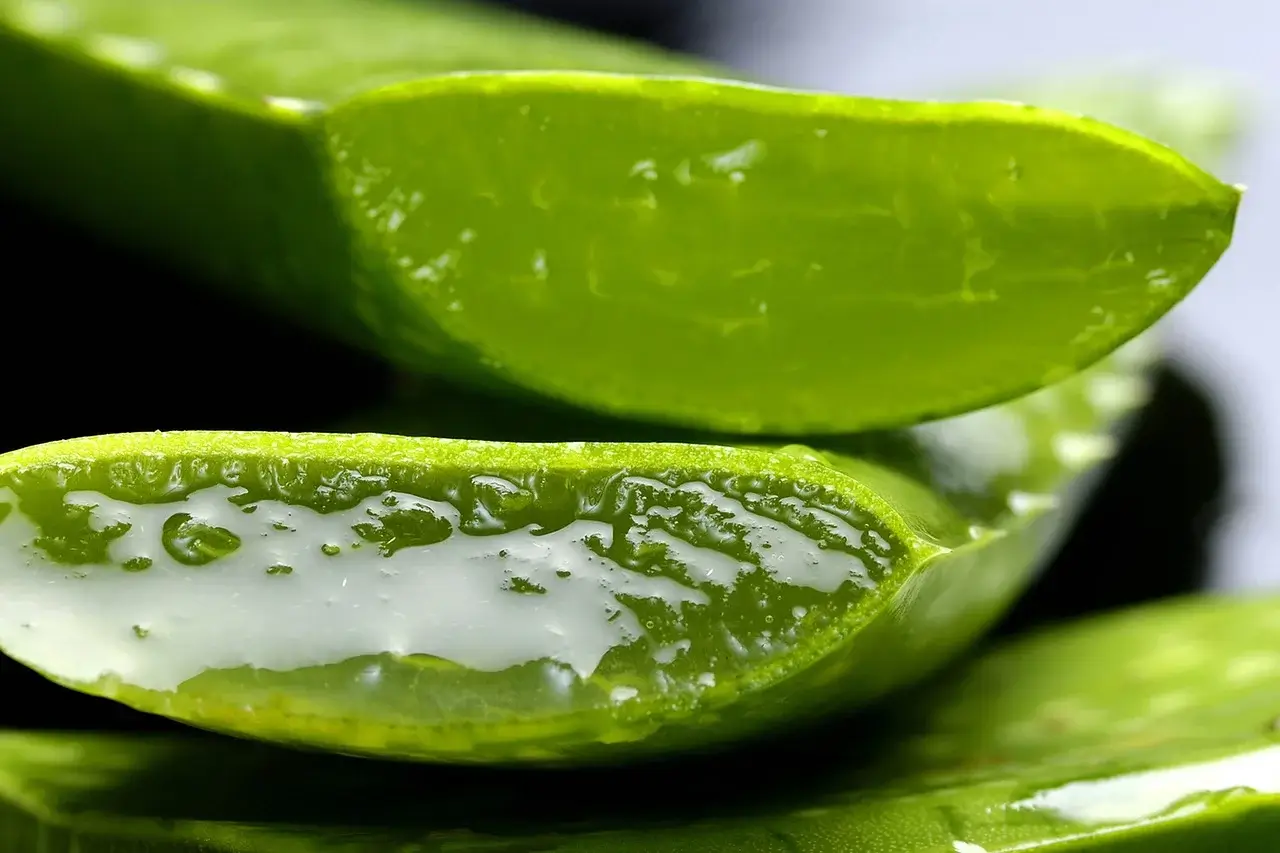
- Pick a healthy leaf with no damage or disease.
- Cut it off the stem with some roots attached.
- Place the leaf in water for a few days to create new roots.
- Transfer the cutting to soil & give it plenty of sun.
- When leaves sprout, you’ve done it!
American Horticulture Society confirms that plants like African Violet (Saintpaulia) can be propagated this way.
And succulents have been doing it for ages – just growing their own little isolation bubble with offsets or pups!
Offsets or Pups Method
Division is a propagation technique which uses offshoots or pups, the small baby plants that grow around the base of a mature plant. These can be carefully detached and replanted in their own containers of well-draining soil. Remember to water sparingly so you don’t cause root rot.
Not all plants have offshoots, so this method won’t work for every type. It has been used for centuries, however; Hawaiian natives used it to cultivate taro. They took parts of the corm, including huli from the attached stem, and planted it into loʻi, flooded terraced garden plots. This accelerated food production, helping them to settle and build culture across the islands.
Division Method
Plant Division Method is a propagation technique that splits plants into smaller parts. It’s mostly used for perennials and grasses that need to be propagated or have outgrown their location. To do it, dig up the plant and use a tool to divide it. Each section should have plenty of roots and foliage. Water frequently and make sure it grows quickly. As a tip, it’s best to divide perennials every 3 years to encourage strong growth. Preparing for propagation is like studying for a test, without the possibility of cheating!
Propagation Preparation and Care
Propagation Preparations and Care for Aloe Vera
To ensure successful propagation of Aloe Vera, it is crucial to provide the plant with proper nourishment, environmental conditions, and care. Following these steps will help you prepare and care for Aloe Vera during the propagation process:
- Soil Mixture: Use a well-draining soil mixture with sufficient drainage holes in the container. Sand, perlite, and peat moss can be mixed with regular potting soil to create an ideal soil mixture for Aloe Vera.
- Cutting Choice: Choose a healthy Aloe Vera plant with firm leaves for propagation. Cut the leaf with a sharp, sterilized knife and ensure that the cut is clean and straight.
- Drying Process: Allow the cut wound to dry for a few days to prevent the propagation plant from rotting after planting.
- Potting Process: Plant the Aloe Vera cutting in the soil mixture, ensuring that the cut wound is positioned downwards into the soil and that the plant is not planted too deep.
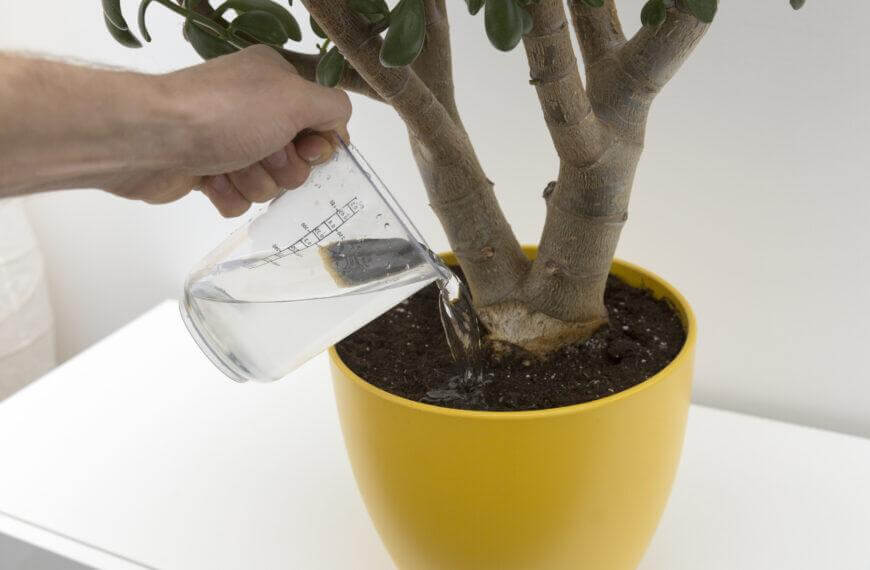
- Watering Schedule: Water the plant sparingly after potting, and then water again only when the soil is dry to the touch.
- Environmental Conditions: Place the plant in a well-lit area with indirect sunlight and maintain a temperature range of 60-80°F.
It is essential to remember that Aloe Vera is a plant that thrives in dry environments. Overwatering the plant may cause it to rot, so it is best to water sparingly. By following these steps, tracking the plant’s progress and adjusting care tactics accordingly, you will succeed in propagating Aloe Vera.
A Unique Detail
It is essential to note that the first few weeks after potting and planting the Aloe Vera cutting are crucial. Careful monitoring of the soil moisture levels and the presence of any rotting or insect issues will ensure successful propagation.
True Story
A friend of mine propagated Aloe Vera from a plant gifted by their grandma. The Grandma received the Aloe Vera as a gift at her wedding, and it was a source of pride and comfort for her for over 50 years. This friend cherished the plant as an heirloom and followed the proper propagation steps to ensure its survival. Today, the plant has grown into a robust, healthy specimen that continues to be a source of joy and beauty for the whole family.
Get your hands dirty and your plants purring with the perfect Aloe potting mix.
Preparing Soil and Potting Mix
Creating the ideal medium for propagation is a must for proper growth and development. Here are some guidelines to help you get your soil and potting mix just right:
- Select the best soil, which should be loose, nourishing, and well-draining.
- Blend organic components like compost or aged manure with garden soil in a 1:1 ratio.
- To boost drainage, add sand or perlite in a 1:3 ratio to the mixture.
- For potting mix, mix equal amounts of peat moss or coir and vermiculite or perlite.
- Sterilize the soil by either baking it at 160°F (71°C) for an hour or steaming it for half an hour.
Also, remember that pH balance is key; try to stay in the slightly acidic range as most plants prefer it.
It’s important to note that while there are multiple methods like hydroponics to propagate plants successfully, selecting the correct medium is a major factor.
The ancients used to make potting mixtures of animal dung and straw to grow their crops. Nowadays, technology has advanced, but the basics are still the same – setting up suitable mediums for plant propagation can give you great results.
You may not be a pro, but with the right watering and light, even a black thumb like yours can keep your propagations alive.
Watering and Light Requirements
Water and Light Needs for Propagation
For a successful propagation, water and light needs should be met. Here are some tips to ensure maximum growth:
- Water requirements differ depending on the type of plant, soil type, pot size, and environment. Check moistness frequently and don’t overly water or underwater.
- Light is needed for photosynthesis, however too much direct light or low light can be harmful. Choose a light exposure suitable for the species.
- Young plants need less water than mature plants, so keep an eye on their needs.
- Don’t fertilize new propagated plants until their root system is established.
Temperature, humidity, air circulation and soil quality may also influence propagation results. However, these vary from one species to another. Therefore, particular guidelines should be followed for each variety.
To promote root development in newly propagated plants, you can try out different methods, such as adding rooting hormones to cuttings or ensuring optimal moist conditions. This helps form healthy roots, which helps absorb nutrients and water.
By following these water and light rules during propagation stages, it’s possible to raise your success rate of multiplying your beloved plants at home. Not following these guidelines is like setting fire to your house while trying to cook dinner.
Common Mistakes to Avoid during Propagation
Avoid Propagation Pitfalls!
It’s important to approach propagation with care and attention to avoid potential mistakes. Here are some common missteps to watch out for:
- Tearing and damage can occur from dull instruments during cutting.
- Using cuttings that are too short or too long can reduce chances of roots forming.
- Contaminated soil or water can introduce diseases to your plant cuttings.
- Over- or under-watering can cause root rot and death of stem cuttings.
- Neglecting environmental needs such as light and temperature can lead to failed propagation.
To ensure success, you must remember the details. Sharp instruments, clean sterilized equipment, proper feeding, and choosing the right species are all important. These steps will increase your chances of successful propagation and make your garden look great with healthy plants.
Don’t let silly blunders ruin your chances of growing your favorite plants. Double-check each step for fantastic results! Propagation is like raising children, but plants don’t talk back and grow up to be successful doctors!
Tips for Successful Propagation
Successful Aloe Vera Plant Propagation: Tips You Need to Know
To ensure successful Aloe Vera plant propagation, here are some useful tips for you to consider:
- Use fresh leaves for cutting. Ensure they are healthy, with no signs of disease or pest infestation.
- Allow the cut ends to scab over before planting. This prevents rotting and promotes healthy root formation.
- Choose a well-draining soil mix and a suitable pot. Avoid overwatering and direct sunlight, as this can harm the plant.
- Be patient. Aloe Vera plants propagate slowly, so it may take some time for the new plant to sprout and develop fully.
It is also essential to note that propagating Aloe Vera in water is not recommended, as it can cause root rot and damage to the plant.
In addition, when propagating Aloe Vera, it’s vital to remember that different species may have slightly different propagation requirements and techniques.
Here’s a real story to give you some inspiration: A friend of mine tried propagating an Aloe Vera plant for the first time. It took some trial and error, but eventually, they were able to propagate a beautiful healthy plant that now serves as a source of natural healing for their family.
Whether you’re growing Aloe Vera or trying to survive a heatwave, remember: hot and humid is good for the plant, not so much for you.
Ideal Temperature and Humidity
Provide the Perfect Climate for Proliferation Triumph! It’s essential to manage temperature and humidity for successful propagation. Here’s the ideal:
| Temperature (°C) | Humidity (%) |
| 20-25 | 75-85 |
| Ideal Temperature and Humidity for Successful Propagation | |
Air flow is crucial too. Stale air increases risk of bacteria and fungus, which could halt or ruin your crop.
Studies show wrong temperatures or humidity during propagation can reduce germination rates. The University of Arizona’s Agronomy & Horticulture Science Dept. found proper temp and humidity can boost crop yields by up to 30%!
Plant propagation is like a joke – timing is everything!
Timing of Planting
Planting Time for Flourishing Propagation
Research when to plant each species. Check temperature, humidity, and soil moisture. Note sun hours & temp fluctuations. Every plant has different requirements. Keep track of success rates. Don’t miss out! Get ready for flourishing propagation. Fertilize your plants or just go green and don’t wash your hands!
Proper Maintenance and Fertilization
For successful plant propagation, proper care and nutrients are essential. Watering, temperature, and soil pH must be kept in check. Organic fertilizers help with soil health and nutrient uptake. Pruning leaves and roots helps new shoots grow, and a slow-release fertilizer gives the right balance of macro and micronutrients without overfeeding.
Regularly check for pests and diseases, and tackle them quickly to prevent spreading. Keep these tips in mind, and you’ll be able to enjoy healthy plants and all the benefits that come with them. Plus, propagating Aloe Vera at home is a great money-saver and conversation-starter – ‘I grew that myself!‘
Conclusion: The Benefits of Propagating Aloe Vera at Home
Propagating Aloe Vera is an attractive option for any household. Here is why:
- Lower cost and easy access to the gel’s health benefits.
- Planting from cuttings or pups is eco-friendly and saves money.
- Preserving genetic traits of plants gives sentimental value.
- Can be used for gifts or side income.
It is easy to care for, so propagation can teach about plant care and be a hobby. Knowing the type of aloe vera to determine the method is essential. To succeed, make sure to give enough sunlight, avoid overwatering, and use well-draining soil.
Propagating Aloe Vera is great for its health benefits, keeps family tradition alive, and can even bring in extra income!
Frequently Asked Questions
Q: How often should I water my newly propagated aloe vera plant?
A: It is important to avoid over-watering your new plant, so wait until the top inch of soil is dry before watering. This could take anywhere from 1-2 weeks depending on the environment.
Q: What type of soil is best for propagating aloe vera?
A: Aloe vera prefers well-draining soil, so it is best to use a mixture of sand, perlite, and potting soil. This will allow the roots to establish properly and prevent the soil from becoming too moist.
Q: How long does it take for aloe vera cuttings to root?
A: Aloe vera cuttings usually take around 2-4 weeks to root, depending on the environment and care provided. Make sure to keep the soil moist and avoid direct sunlight during this time.
Q: Can I propagate aloe vera from a leaf that has fallen off?
A: Yes, you can propagate aloe vera from a leaf that has fallen off by gently placing it on top of well-draining soil and lightly moistening it. It may take longer for the leaf to root than a stem cutting, but it is still possible.
Q: Should I fertilize my newly propagated aloe vera plant?
A: It is best to wait a few weeks before fertilizing your newly propagated aloe vera plant to allow the roots to establish properly. After that, you can fertilize once a month using a balanced fertilizer diluted to half strength.
Q: Can aloe vera be propagated year-round?
A: Aloe vera can be propagated year-round, but the best time to do so is during its active growing season in the spring and summer. During this time, it is easier for the plant to establish roots and grow new leaves.