Types of Indoor Plant Propagation
Methods for Indoor Plant Propagation
Indoor plant propagation refers to the process of growing new indoor plants from seeds, cuttings, or other plant parts. Here are five methods of indoor plant propagation you can use:
- Stem cuttings: You can cut a section of the stem from the mother plant and propagate it in a new soil mix. This method is suitable for creating new plants of any size from the parent plant.
- Leaf cuttings: Some plants can be propagated from their leaves. You can cut a part of the leaf and place it in a suitable soil mix for the new plant to develop.
- Layering: This propagation technique involves bending a stem of the mother plant, making a cut beneath a node, and burying the cut part in soil, which eventually forms a new plant.
- Division: This is the process of dividing the root ball of a mature indoor plant, creating two or more new plants in the process. This method is particularly useful when the parent plant becomes too large for its container.
- Seed propagation: Starting plants from seeds means propagating through sexual reproduction. This is a convenient method to propagate plants that are difficult to propagate by other propagation methods.
It’s important to note that each indoor plant has a preferred method of propagation. Therefore, it’s recommended to research each plant’s specific needs before choosing a propagation method.
Pro Tip: Always sterilize the tools you’re using in propagation to prevent the spread of any diseases.
Don’t let anyone tell you that starting from seed is easy, unless they’ve never tried it themselves.
Seed Propagation
Grow unique indoor plants with seed propagation! Here’s how:
- Collect high-quality seeds from a mature, healthy plant.
- Fill a container with moist soil that drains well.
- Sow the seeds on top of the soil, not overcrowded.
- Put the container in an area with sunlight and keep moisture levels consistent.
It may take time, but you can get beautiful plants with unique features like blossom colors and shape. Start gathering supplies and deciding which type of plant is best for you today!
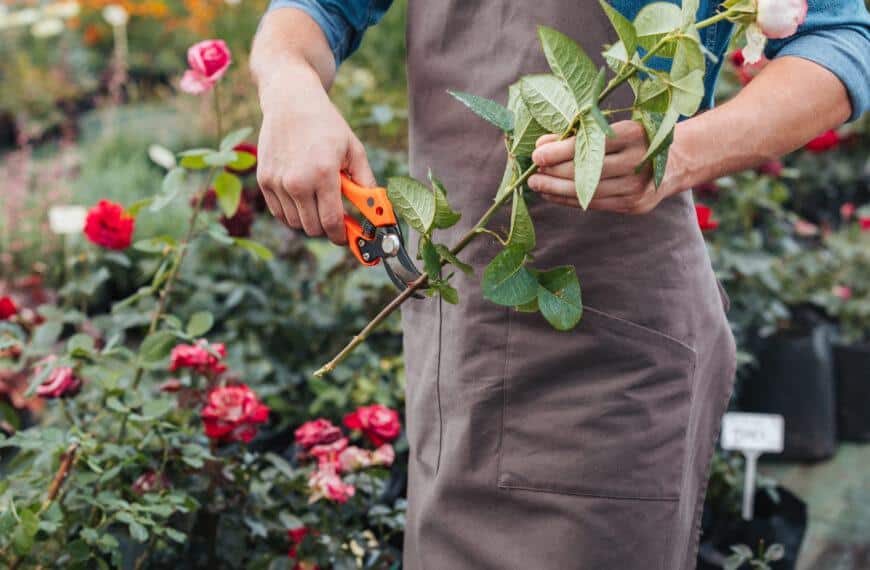
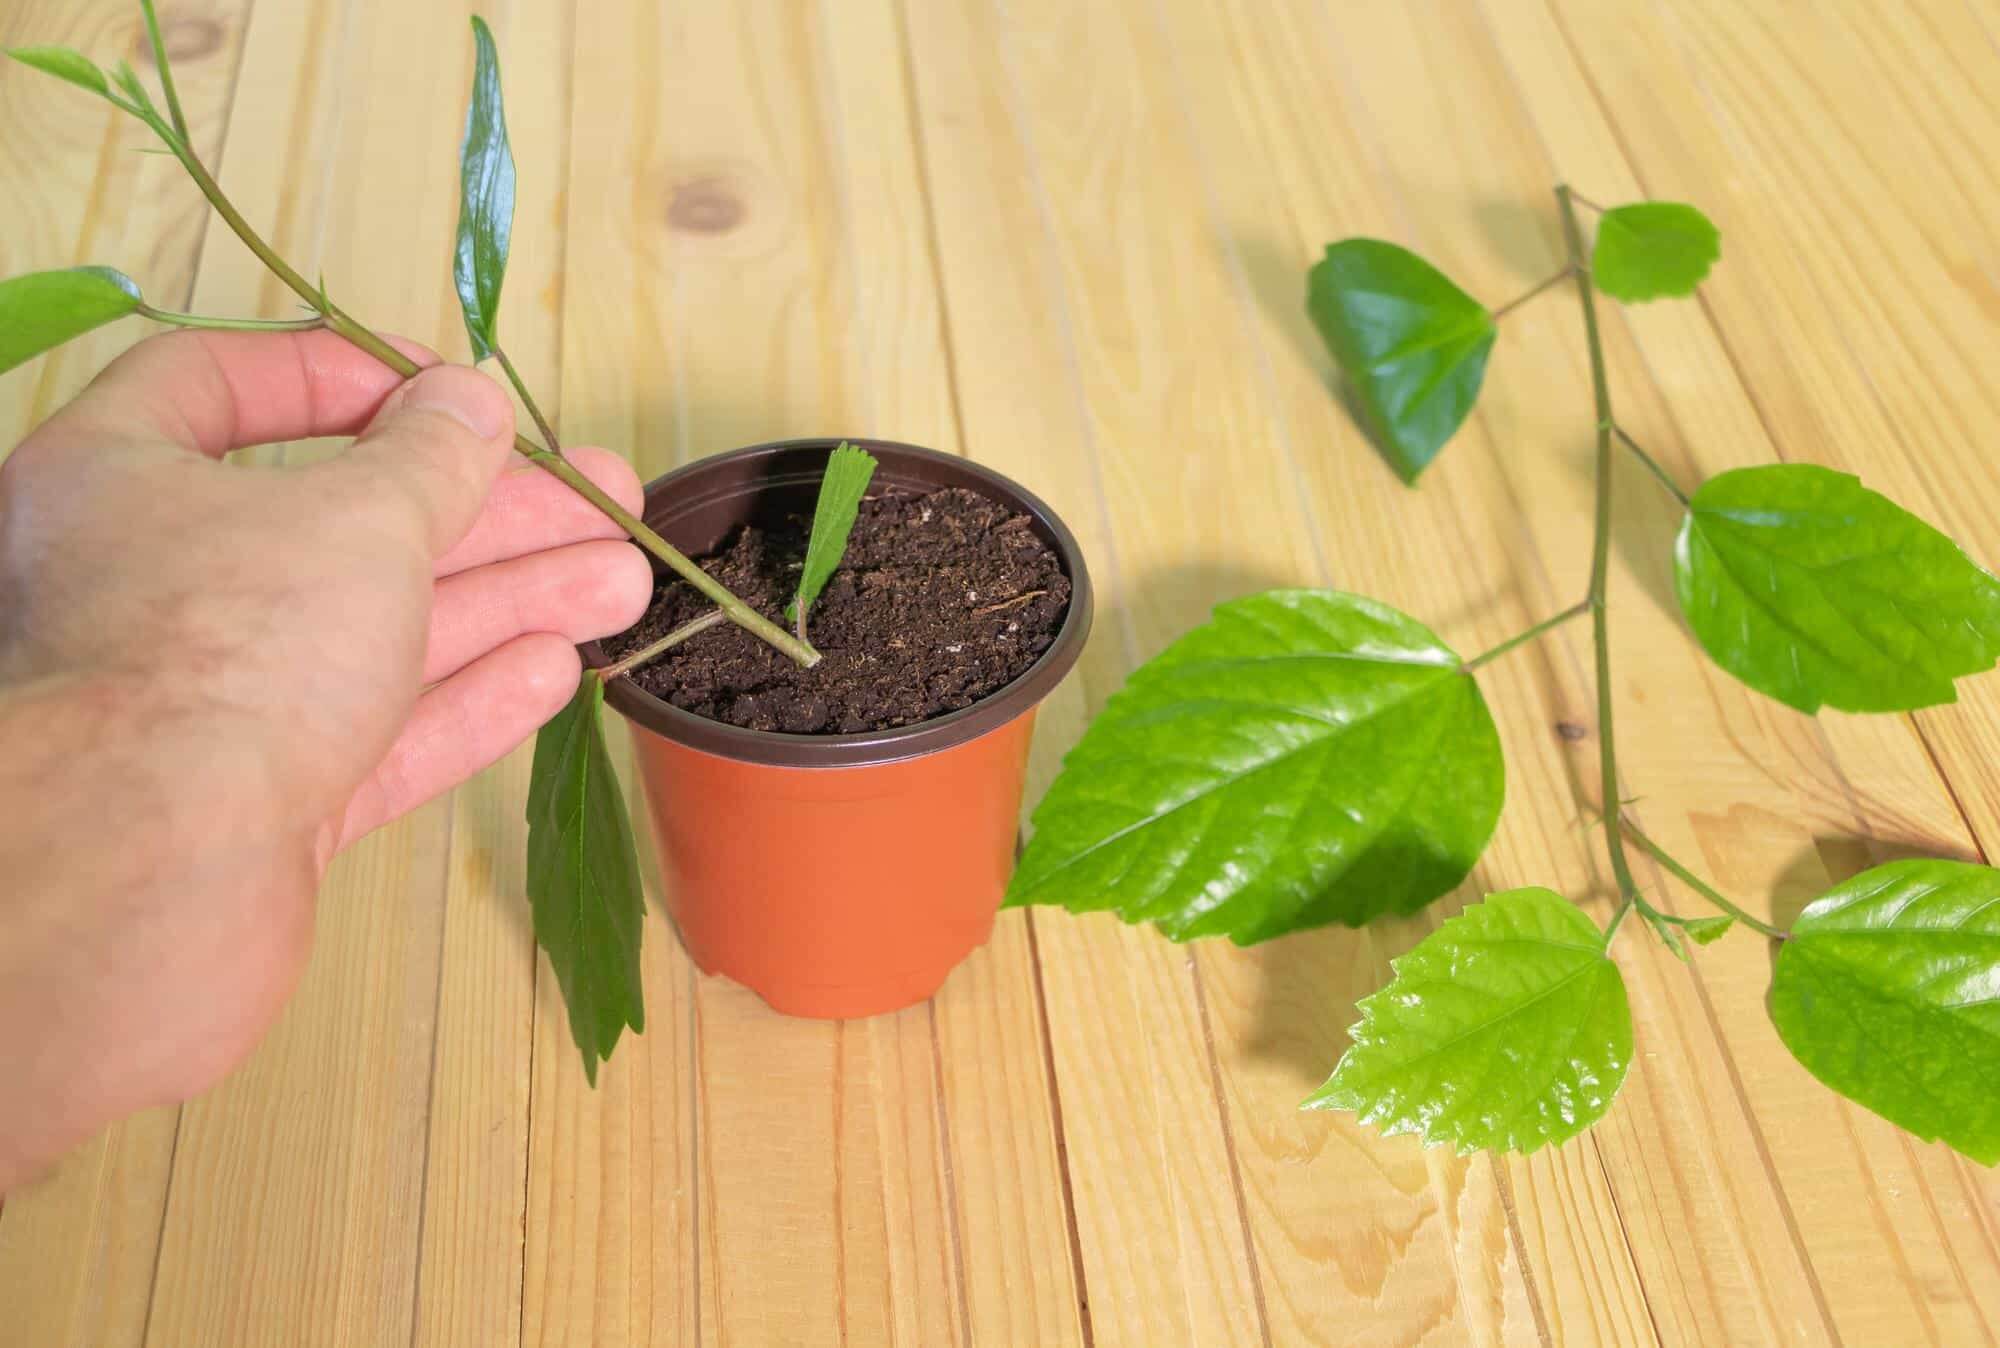
Stem Cutting Propagation
Stem Cuttings is a technique to create new plants from existing ones. Here is a guide on how to get started:
- Find a healthy stem with two to three leaves.
- Cut the stem at an angle, just below the leaf and the main stem. The cutting should be around four to six inches long.
- Remove leaves on the lower half of the cutting.
- Dip the cut end of the stem into rooting hormone powder.
- Plant the cutting in moist soil and put it in a clear plastic bag to keep humidity.
- Place it in indirect sunlight and wait for roots to grow in a few weeks.
For more branches, create multiple cuts on one stem.
Also, the University of Florida research revealed that stem cuttings keep the genetic identity of the plant intact. Unlike other forms of propagation that may cause variation among offspring. Why buy plants when you can start your own botanical crime syndicate with leaf cutting propagation?
Leaf Cutting Propagation
Leaf propagation is an awesome way to grow new plants from existing ones – especially soft-stemmed houseplants and succulents. Here’s how:
- Choose a healthy leaf near the bottom of the stem. Bigger leaves are better.
- Cut off the leaf, keeping some stem attached. Slice the broken stem in the middle, but not too deep.
- Lay the leaf on moist soil, away from direct sunlight. Wait for roots to form (2-3 weeks). Then, water regularly, give it sunshine, and fertilize.
Be careful not to overwater or put it in too much sunlight until new growth appears – this can dry out the piece and make it useless.
And the best part? You can get multiple plants from one! Plus, during WWII people used this technique to make indoor gardens since flower conservation was a priority. So cool!
Division Propagation
Division Propagation – An Effective Way to Propagate Indoor Plants!
Division propagation is a great way to propagate indoor plants. You divide the parent plant into smaller pieces with healthy roots and stems. Then replant them in individual containers filled with potting soil.
Here’s a table to illustrate this process:
| Steps | Description |
|---|---|
| Step 1 | Uproot parent plant from pot |
| Step 2 | Divide plant into portions with healthy roots and stems |
| Step 3 | Replant each section in new container with fresh potting soil |
It’s important to note that not all plants are suitable for division propagation. Research which plants are compatible with this method. It’s also best to propagate during the active growing period of the plant.
I once saw a friend successfully divide her mother-in-law’s tongue plant. She wanted to propagate her favorite houseplant, and found out how to do it by researching online. The newly propagated plants all survived and thrived in their own pots with proper care.
When choosing a container for your indoor plant propagation, keep in mind: size matters! Too big and you’ll drown the plant, too small and it’ll be cramped.
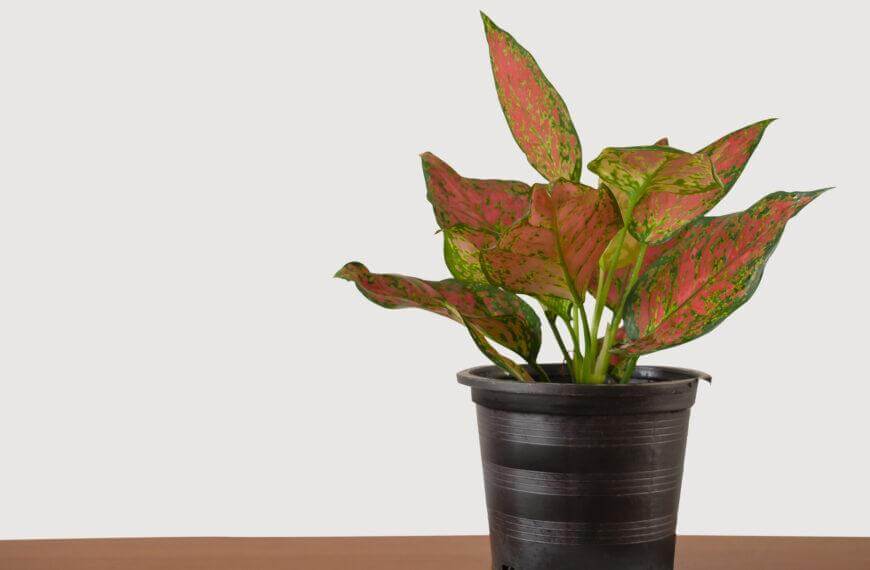
Choosing the Right Container and Soil
Choosing an ideal container and soil is crucial for the success of indoor plant propagation. The right combination can foster healthy growth and ensure a thriving plant.
To choose the appropriate container and soil, follow this 4-step guide. Firstly, select a container that is the right size for the plant to grow into, with proper drainage holes. Second, choose a well-draining soil mix that is suited for indoor plants. Third, consider the type of plant you are propagating, and match it with the correct soil and container. Finally, make sure to sanitize the container and soil before use to prevent the spread of any diseases or pests.
It is essential to note that while choosing a container, one must keep in mind the aesthetic value of the planter and ensure that it complements the indoor space. Moreover, the soil should be nutrient-rich, pH balanced and able to hold moisture without getting waterlogged.
Don’t miss the chance to watch your seeds grow into beautiful, healthy saplings. Use the guidelines mentioned above to ensure that your plants get the perfect start. Your plant’s container may outlive your last relationship, so choose wisely. Start your indoor plant propagation journey today!
Container Materials
Choosing the correct container for plants is vital. It affects soil drainage and moisture levels, which can have a huge impact on their growth. Consider materials like plastic, ceramic, terracotta, or metal to find the best fit for the plant’s needs.
Each material comes with its own benefits; plastic is light and cheap, while terracotta offers good air circulation and temperature regulation. Metal containers are strong but can rust with moist soil.
Soil mix is just as important. Different plants require different mixes such as cactus mix or potting soil. Avoid garden soil, as it doesn’t allow for good drainage.
Plastic containers also come with reservoirs at the bottom for water storage, which is helpful for busy gardeners. But be careful with untreated wood containers; the wood breaks down over time, impacting drainage quality.
University of Maryland Extension states that 80% of plant issues are caused by incorrect pots or unsuitable soil mixes. If your soil could talk, it would tell you to stop using the wrong type of container!
Soil Types
Soil Variations: It is vital to choose the correct soil type for flourishing plants and maximum yield. Clay soil is dense and retains water and nutrients. It can, though, suffocate roots if not managed properly. Sandy soil is sparse, draining quickly and needing frequent watering and added nutrients. Root vegetables are ideal for sandy soil. Loamy soil is a mix of clay, sand and humus, allowing it to retain nutrients and drain well. Lettuce, cucumber, and beans grow well in loamy soil.
Additionally, the pH level of the soil should be taken into account. Acidic soils (pH below 7) are suitable for acid-loving plants such as blueberries. Alkaline soils (pH above 7) are better suited for asparagus and strawberries. To produce an optimal crop, the soil type should match the specific plant type. Good soil preparation is the key to a successful garden. If all else fails, pray for a miracle!
Soil Preparation
For healthy plant growth, the ideal soil preparation is key. To achieve this, here are 3 steps to follow:
- Check pH level: Test the acidity level of your soil and make sure it matches the type of plants you are growing.
- Add organic materials: Improve soil nutrients with organic matter like manure, compost, or leaf mold.
- Mix well: Thoroughly mix any additional materials with the planting medium.
Container size and soil must be chosen carefully. Soil must have proper drainage to prevent root rot. Don’t miss out on having healthy plants by leaving out these vital techniques! Check the pH, add organic materials and mix adequately for optimal growth and long life. Plants need their environment just right – not too hot, not too cold.
Light and Temperature Requirements
Growing indoor plants requires understanding their light and temperature needs. To ensure proper growth and prevent damage, it is crucial to know the ideal conditions for your plants.
It’s important to note that some tropical plants thrive in warm and humid conditions, while others prefer cooler temperatures; therefore, it’s crucial to research about your plant’s specific requirements. In addition, reflective surfaces near plants can cause damage by intensifying sunlight and increasing heat, so make sure to choose the right spot for your plants.
Pro Tip: Using a humidifier or a pebble tray can help maintain the required humidity levels for tropical plants. If you thought your plants were being dramatic before, just wait until they start demanding certain light conditions like a diva at a photoshoot.
Understanding Light Conditions
Light conditions are vital for plants to grow and flourish. Knowing them can improve yields. Time of exposure varies depending on the type of plant and its growth stage. Direct or indirect sunlight is usually required.
Light intensity affects shapes, colors, leaf sizes, and even flowering patterns. Duration of light impacts photosynthesis rates and outcomes. Quality is about particular wavelengths in the spectrum that cause particular reactions in plants.
Growers can regulate light’s timing and intensity to align with their crops’ needs during each growth phase to amplify productivity while minimizing fatigue.
Adopting proper lighting practices boosts crop yield potential by optimizing the environmental elements needed for farmers’ success.
To stay ahead of modern farming practices and increase profits, it is best to understand light conditions closely.
Looks like plants have become more picky with their lighting than a diva at a photoshoot!
Types of Light
Light is essential for plant growth and development. It gives energy for photosynthesis and triggers photomorphogenic responses. Knowing the different types of light can help in optimizing indoor growth conditions.
Check out the table below for a breakdown of different light types, their wavelengths, and recommended usage:
| Light Type | Wavelength Range (nm) | Recommended Usage |
|---|---|---|
| Visible Light | 400-700 | Primary source for photosynthesis |
| Ultraviolet Light | <400 | Sterilization and pathogen control |
| Far-red Light | >700 | Promotes flowering |
It is important to remember that all plants need visible light for photosynthesis, however, each plant has its own requirements regarding the amount of light it needs.
Maximizing plant growth potential is not only about knowing the right wavelengths, but also how much illumination is needed at different stages of growth.
Pro Tip: Monitor PAR (photosynthetically active radiation) levels in the grow space to guarantee optimal illumination for your plants. Or if you’re feeling adventurous, try the Goldilocks technique: stick your hand in the soil and yell ‘too hot‘ or ‘too cold‘!
Ideal Temperature for Propagation
For plants to grow optimally, their environment needs the right temperature. Each plant species has a different ideal temperature range for successful propagation. For example, tomatoes need 20-30°C, lettuce 15-18°C, eggplants 25-35°C and basil 21-24°C. Temperature is not the only factor; light conditions, soil quality and access to nutrients are important too. Too little or too much light can stop normal growth. To get the best results, a balance must be struck between all these factors.
My friend recently had a bad experience with tomatoes as the room temperature was too low. This deviation from the optimal range led to wilted plants. To achieve success in propagation, it’s like tightrope walking while being a botanist!
Watering and Fertilizing Techniques
To ensure healthy and strong indoor plants, it is important to understand proper watering and fertilizing techniques. Here are some tips to get you started:
Watering and Fertilizing Techniques:
The following table shows the recommended Watering and Fertilizing Frequency for Different Indoor Plant Types:
| Plant Type | Watering Frequency | Fertilizing Frequency |
|---|---|---|
| Succulents | Once a week | Once a month |
| Ferns | Twice a week | Every two weeks |
| Herbs | Daily | Once a week |
To keep your indoor plants thriving, it is important to avoid overwatering or underwatering. Be sure to check the soil moisture level regularly and adjust watering frequency as needed. When it comes to fertilizing, follow the instructions on the product label and avoid applying too much.
In addition to proper watering and fertilizing, it is important to provide adequate light and ventilation for your indoor plants.
True Fact: NASA’s Clean Air Study found that certain indoor plants can help remove toxins from the air, such as formaldehyde and benzene.
Watering your plants is a lot like dating: too much attention can suffocate them, while neglect can be equally deadly.
Watering Techniques
Water your plants well! Here’s a three-step technique to guarantee healthy plants –
- Water in the morning or evening. This helps reduce water loss due to evaporation.
- Water at the base root, not on leaves, stems or flowers. This prevents fungal diseases.
- Repeat as needed. Consider the type of soil and the plant’s growth stage.
Remember to keep the quantity and frequency of water consistent. Be mindful of seasonal temperature changes too.
Did you know? Over-watering can be just as bad as under-watering. A University of Georgia study found that over-watering leads to nutrient leaching and root rot.
Give your plants some love and care with these fertilising techniques. A little love goes a long way in the garden!
Fertilizing Techniques
Maximizing Nutrient Levels in Soil with Optimal Techniques.
Choose the right fertilizer for your plants and pick between liquid or solid. Timing is key – early mornings offer maximum absorption.
Refer to the table below for application rates of common solid and liquid fertilizers.
| Fertilizer Type | Potted Plants | Garden Plants |
|---|---|---|
| Slow Release | 1 tbsp/4 in | 1 lb/100 sq ft |
| Liquid | Diluted | Once/week |
For slow release, mix with soil before planting. Liquid should only be applied when plants are growing. Too much fertilizer can cause stunted growth or leaf burn.
Special types of fertilizers exist for certain plants, like acid-enhancing for acid-loving plants.
Use proper fertilizing techniques to reach your gardening goals. Don’t miss out on beautiful blooms and healthy growth.
Tips and Tricks for Successful Indoor Plant Propagation
Indoor Plant Propagation can be an exciting experience for beginners, but it requires careful attention to detail. Here are some useful pointers to ensure your plant propagation journey is successful:
- Choose the Right Plant: Choose a plant that can be easily propagated and adapts well to indoor environments.
- Timing is Key: Conduct propagation during the growing season when your plant is most active, helping accelerate growth.
- Proper Potting Medium: Use a suitable potting mix that has enough nutrients and moisture to support plant growth.
- Adequate Light and Temperature: Ensure adequate light and temperature conditions for your plant to grow healthy.
When propagating indoor plants, considering the environment – the soil, sunlight, and watering requirements – can help promote healthy growth.
A success story of indoor plant propagation comes from John, who propagated his spider plant by placing it in a jar of water. After two weeks, he noticed small roots and transferred the plant into a pot with suitable soil. Today, the plant is thriving and serves as the centerpiece of John’s indoor plant collection.
Healthy plants make healthy babies, so choose your parent plants wisely.
Choosing Healthy Parent Plants
Select healthy plants for propagation – that’s crucial! Look for strong growth, no pests, and lush foliage. Also pick parent plants with traits you’d like to grow in your indoor garden. Keep your plants healthy by giving pests the boot and nipping diseases in the bud.
Disease and Pest Control
For successful propagation, safeguarding the health and well-being of your indoor plants is essential. To protect them from diseases and pests, keep a clean and hygienic environment. Wipe down leaves with a damp cloth and ensure adequate airflow around plants to reduce the risk of mildew. Also, use natural methods such as neem oil or insecticidal soap to control common pests like spider mites and aphids. Identify any pests quickly to stop an infestation from harming all your plants.
Moreover, prevent pest invasions by quarantining new plants for several days. To avoid harmful bacteria or fungi, keep soil moisture levels constant and don’t over-fertilize. Implementing proper disease and pest control measures is key to successful indoor plant propagation.
Protect your garden from unwanted disturbances by maintaining cleanliness, identifying pests early, using natural methods, quarantining new additions, and monitoring soil moisture levels. Don’t miss out on healthy plants – act now to guarantee their long-term success!
Propagation Timing
Timing is essential when propagating indoor plants, to guarantee their expansion and development. Work out the perfect growth conditions for each type of plant, to decide when to take cuttings. Below is a handy table to help you:
| Plant Type | Recommended Propagation Time |
|---|---|
| Succulents | Spring or Summer |
| Foliage | Fall or Winter |
| Vines | Spring |
| Herbs | Late Spring or Early Summer |
These are just guidelines, as other factors such as temperature, humidity, light, and water availability can influence this. To see better results when propagating, try using a rooting hormone powder or gel on your cuttings before planting them. Make sure your cuttings come from healthy parent plants too, so that no diseases are spread.
Finally, cover them with plastic bags or domes to create a greenhouse effect which keeps humidity and lets sunlight in. With the right timing, techniques and care, you can propagate healthy indoor plants for many years!
Aftercare and Transplanting
Grow greenery in your home! Before transplanting, take care of their needs: water sparsely, not more than once a week; ensure sufficient light exposure; frequently supply with nutrients; and check if the soil has ideal humidity levels. Sanitize the soil beforehand to avoid contamination.
According to The National Initiative for Consumer Horticulture, growing indoor plants improves cognitive performance, reduces stress, and positively impacts well-being. Learning from mistakes aids in indoor plant propagation. If you’re bad at it, buy fake plants!
Common Mistakes to Avoid in Indoor Plant Propagation
Indoor Plant Propagation: Pitfalls to Sidestep
If you’re looking to propagate indoor plants, then avoiding the following mistakes can help you achieve the successful growth and development of your plant babies.
- Ambiguous Labels – Mislabeling containers can disrupt the growth and development of your indoor plants. Keeping labels clear and concise can help eliminate any confusion.
- Overwatering – Overwatering indoor plants can lead to root rot or fungal diseases. Ensure that the soil is moist but not soaked by checking the moisture level regularly.
- Insufficient Lighting – Without adequate light, indoor plants cannot generate enough energy to grow. Make sure to provide adequate lighting or keep the plants near a bright window for at least four hours of sunlight daily.
- Improper Pruning – Pruning is essential in shaping and maintaining the growth of indoor plants, but incorrect pruning can damage or stunt their growth. Always use clean and sharp tools and ensure to cut a stem angled just above the leaf node.
- Ignoring Pest Infestations – Neglecting to address pest infestations can result in significant damage and may even affect other plants. Regularly inspect the leaves, soil, and stem to catch any potential infestations and treat them promptly.
It is crucial to note that different plants have different propagation methods. Always conduct research on the plant’s specific propagation needs for best results.
To ensure successful indoor plant propagation, it is best to use plant-specific soil, choose a suitable container size, and apply the appropriate amount of fertilizer. These steps can help maintain the ideal environment for indoor plant growth.
By avoiding these common mistakes, you can ensure healthy growth and vitality of your indoor plants. Your plant may need water, but drowning it won’t make it go faster – avoid overwatering and let nature do its thing.
Overwatering
Indoor Plants: Avoid Dampness!
It’s easy to overwater indoor plants. Here are five tips to prevent it:
- Use soil and containers with drainage holes.
- Water only when the top inch of soil is dry.
- Adjust frequency based on the plant’s species, growth stage, and room temp.
- Don’t let plants sit in water for more than an hour.
- Check for signs of overwatering, like yellow leaves, root rot, and fungal growth.
Airflow, humidity, and sunlight are key to avoiding dampness. Monitor your plant’s needs to stay hydrated.
Just because a plant looks dry, doesn’t mean it needs water. Snake plants can go three weeks without watering.
Your plant may survive a drought, but don’t leave it in the outback!
Underwatering
Neglecting Moisture Levels
It’s a common mistake to not pay attention to the moisture levels of plants. Each plant has different requirements for drought and water. Too little water can cause roots to dry out and damage the overall health of the plant. Overwatering can cause waterlogged soil and suffocate the roots, making them rot. Both of these can stunt growth and even kill your plant.
Light, humidity, temperature and type of potting medium can affect the moisture needs of a plant. With more people getting into indoor gardening, it’s essential to learn the right methods for taking care of plants. Not following proper moisture levels can cause root rot or slow growth. To avoid this, water regularly based on each individual plant’s needs. Don’t let bad advice ruin your houseplants! Invest in the knowledge to have healthy, thriving plants.
Poor Soil Quality
Soil Quality is essential for indoor plant propagation. It provides nutrients and moisture, ensuring healthy growth. Poor soil can lead to poor growth, disease, and even death.
Do not use low-quality or contaminated soil. It lacks the necessary nutrients and can contain harmful chemicals or pathogens.
Choose sterile/pasteurized mixes with vermiculite, perlite, peat moss, or compost. These give plants a balanced mixture of minerals and organic matter, while allowing good drainage and air circulation.
The Great Plains Dust Bowl of the 1930s was a perfect example of bad soil quality. Intensive tillage and drought led to massive erosion and Topsoil loss. Failed crops, dust storms, and illnesses forced millions Westwards.
Indoor plants need light and warmth; darkness and coldness won’t do!
Improper Light and Temperature Conditions
Light and temperature are vital for indoor plant propagation. Poor light results in weak plants, lacking growth and vigor. Similarly, unsuitable temperatures can make it hard for plants to thrive. Therefore, specific adjustments must be made for individual plants.
To guarantee good lighting conditions for propagated indoor plants, they should be placed in indirect sunlight or under fluorescent lights. Additionally, a consistent temperature between 60-75°F (15-24°C) is suitable for all houseplant varieties.
Humidity, ventilation also influence plant development, and should be considered when propagating different types of indoor plants. Keep humidity above 50%. Also, keep pots away from drafts and windowsills, as this leads to inconsistent temperature regulation. Choose the right-sized pot for your plant, allowing space for growth.
Frequently Asked Questions
Q: What is plant propagation?
A: Plant propagation is the process of creating new plants from existing ones, either through sexual (seeds) or asexual (cuttings) means.
Q: Why should I propagate plants?
A: Propagating plants gives you the opportunity to create new plants for free, control the growth and health of your plants, and create a more personalized collection.
Q: What materials do I need for indoor plant propagation?
A: You will need pots or containers, potting soil, clean scissors or cutting tools, rooting hormone (optional), and access to water and sunlight.
Q: Can all plants be propagated indoors?
A: Not all plants can be propagated indoors, as some require specific conditions such as high humidity or specialized soil. Research your plant’s needs before attempting propagation.
Q: How long does it take for a plant to propagate?
A: The length of time it takes for a plant to propagate varies depending on the plant and method used. Seeds can take weeks to months to germinate, while cuttings can start developing roots within a few days to weeks.
Q: How do I know if my propagated plant is successful?
A: You will know that your propagated plant is successful if it begins to grow and thrives on its own. Roots will have formed and the plant should show signs of new growth.