Understanding Aloe Vera
Discovering Aloe Vera!
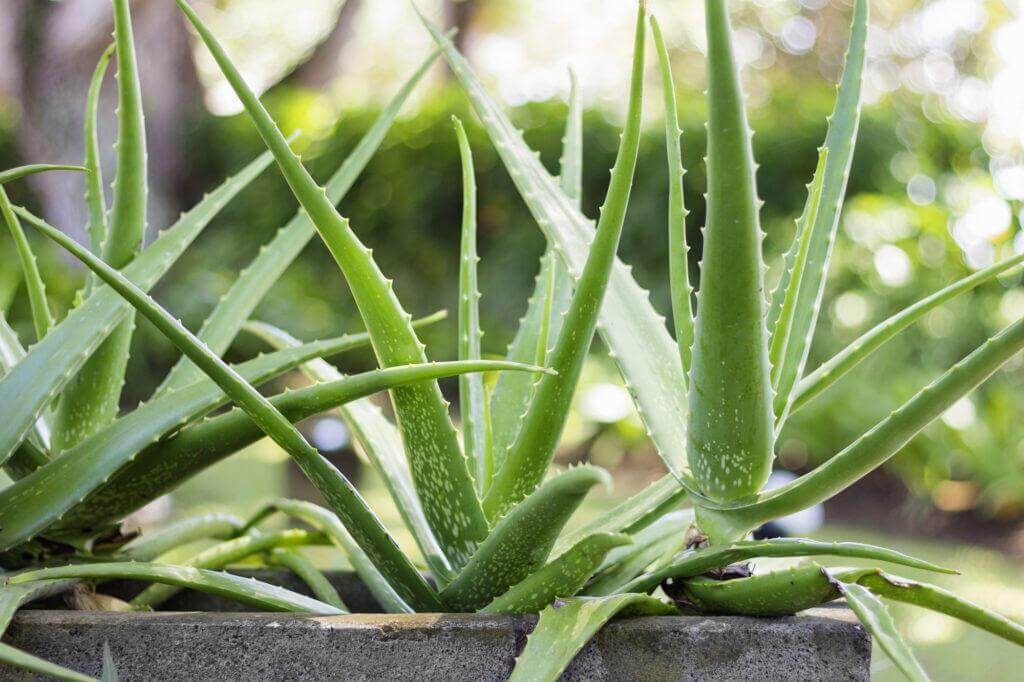
Aloe vera is a succulent type of plant that is usually found in hot climates. It is known for its healing and decorative properties. The gel inside the leaves has lots of useful compounds which can heal skin and digestion problems. Aloe vera plant care is critical for a long-lasting plant!
Did you know that there are over 500 species of aloe vera? The most common one grown for commercial use is called Aloe Barbadensis Miller. It needs soil that drains well and lots of sunlight to grow.
Aloe vera has lots of vitamins and minerals, such as B, C, E and calcium, iron, magnesium and potassium.
Cleopatra, the Queen of Egypt, used aloe vera as part of her skincare routine. She used a mix of milk and aloe vera gel to keep her skin soft.
No matter what kind of aloe vera you like, there’s a plant out there for you!
Types of Aloe Vera Plants
Aloe Vera Varieties – A Range of Succulent Plants!
Aloe Vera is a genus of succulent plants. It belongs to the Asphodelaceae family. Common varieties include Aloe Barbadensis Miller, Aloe Ferox and Aloe Arborescens.
- Aloe Barbadensis Miller is the most widely cultivated. It is also known as Aloe Vera.
- Aloe Ferox has similar health benefits. However, it has more bitter sap.
- Aloe Arborescens is native to southern Africa. It is popular for its ornamental qualities.
Other varieties include A. aristata and hybrids like Agave Americana X A. Striata.
Be aware of the variety when harvesting or using them medicinally. Different varieties have different chemical compositions.
One claim suggests placing an aloes stem inside one’s shoe will alleviate foot pain. More research is needed before this can be confirmed.
Caring for aloe vera is like starting a new relationship – it needs patience, attention and sunlight!
Getting Started with Aloe Vera Care
For effective aloe vera plant care, you need to know about its soil requirements, proper watering techniques, and the right amount of sunlight exposure it needs. In this section called “Getting Started with Aloe Vera Care,” we’ll introduce you to the essential sub-sections – Soil Requirements, Proper Watering Techniques, and Sunlight Exposure – that will help you keep your aloe vera plant thriving.
Soil Requirements
The soil composition for optimal Aloe Vera growth goes beyond structure and texture. Table below outlines the different types of soils suitable for this plant and their respective characteristics.
| Soil Type | pH Level | Drainage | Nutrients |
|---|---|---|---|
| Sandy Loam | 6.0 – 7.5 | Good | Moderate |
| Clay Loam | 6.0 – 7.5 | Poor-Fair | High |
| Sandy Soil | 6.0 – 7.5 | Excellent | Low |
| Silt Soil | 6.0 – 7.5 | Good-Fair | Moderate |
Still, even with the perfect soil type, optimal growth is only achieved when all other plant care requirements are met. A deeper understanding of soil mineral content and nutrient composition can aid your plant’s health.
My neighbor Anna, a gardener, transplanted a young Aloe Vera pup in sterile potting mix for succulents. This was done to avoid over watering, which can lead to rotting root tips and stem collapse in early growth stages.
Watering Aloe Vera is a balancing act between a desert and a tropical rainforest.
Proper Watering Techniques
Need help with Aloe Vera watering? Here are 5 steps to help you out:
- Check soil moisture level before watering. Put a finger in the soil at least 1 inch deep. Water only when it’s dry.
- Use room-temperature, distilled water. Tap water may have harmful minerals.
- Water around the base of the plant, not its leaves.
- Allow excess water to drain out of drainage holes. Discard any in trays or saucers.
- Let soil dry completely between sessions.
Beware! Over-watering can cause root rot. Under-watering? Stunted growth and discolored leaves. Pro Tip: Observe your plant for visual cues like leaf color, texture, etc. and adjust your care accordingly, instead of following a schedule!
And remember, Aloe Vera would love to sunbathe, but too much sun = shrivelled & bitter!
Sunlight Exposure
Optimum Sun Exposure For Aloe Vera?
It’s essential to get sun exposure right for aloe vera care. These succulents thrive in indirect sunlight – direct light can scorch their leaves. Find a spot with partial shade or bright but filtered light.
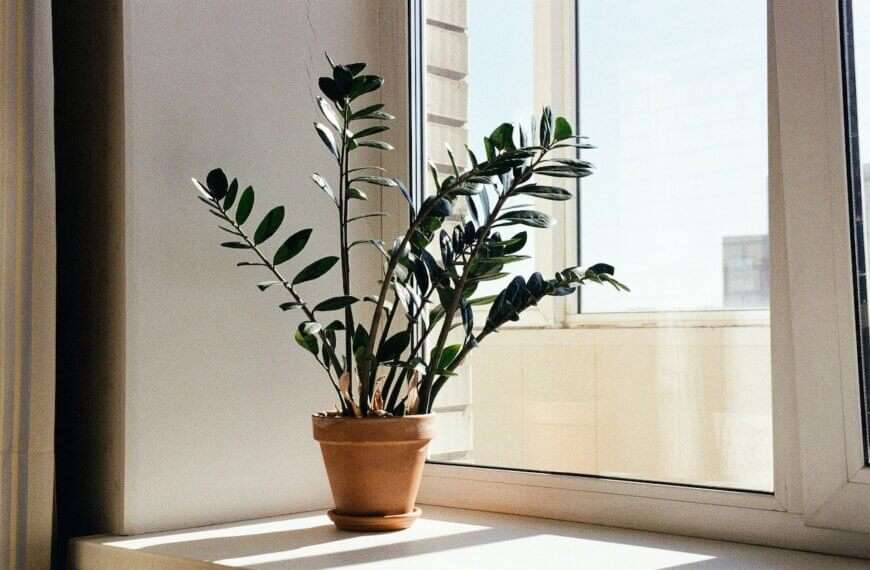
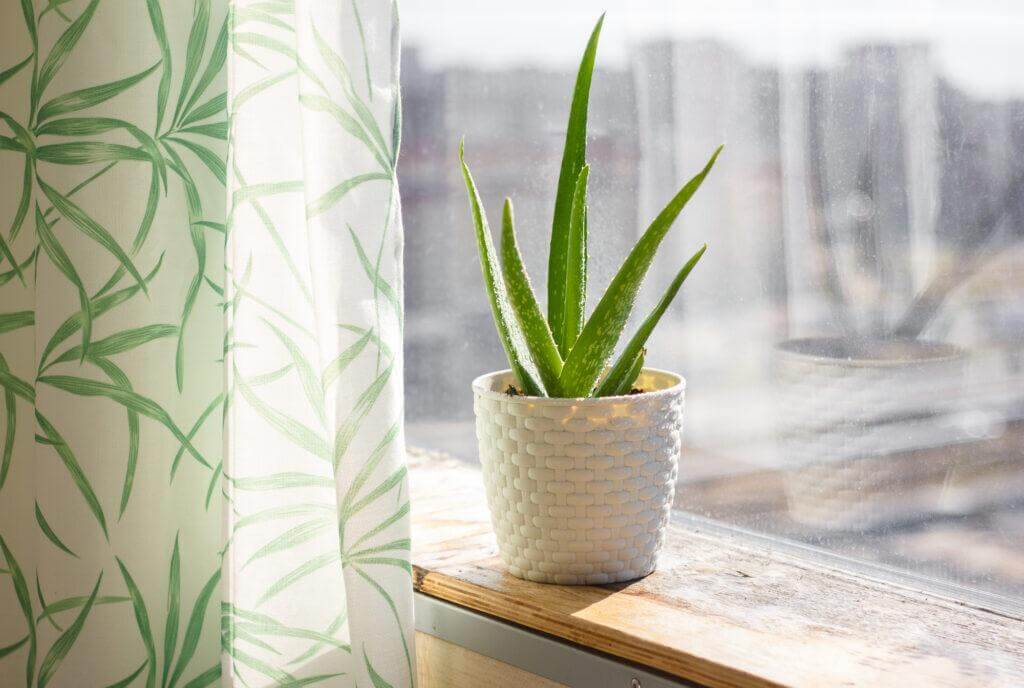
An east-facing window is ideal for absorbing bright indirect sunlight. To avoid direct rays in the afternoon, put up curtains or sheers to filter the light.
Sunlight also stimulates the production of the gel inside aloe vera leaves. This gel is said to have potential health benefits when applied to the skin.
Fun fact – NASA recommends keeping an aloe vera indoors. It filters toxins from air quality by releasing oxygen while taking out pollutants.
Looking after an aloe vera is like having a high maintenance partner – but at least it won’t text you back!
Maintaining Healthy Aloe Vera
To maintain healthy aloe vera with the best possible care, you need to fertilize and prune them regularly. Fertilization is an essential step that provides your aloe with much-needed nutrients, whereas pruning helps in maintaining the shape and overall health of the plant.
Fertilization
Providing Necessary Nutrients to your Aloe Vera Plant
It’s important to give your Aloe Vera plant the adequate nutrients it needs. Here’s how to do it without causing any harm.
Types of Fertilizers:
- Organic Fertilizer – Natural materials, improves soil quality, and helps root growth. Apply once a month.
- Inorganic Fertilizer – Chemical-based, more concentrated than organic ones. Use once every 2-3 months.
Maintain a consistent feeding schedule. Best time is during the growing season – spring until early fall. Too much or too little fertilizer are both damaging.
My friend found out the hard way. She over-fertilized her Aloe Vera plant and noticed yellowing in some areas. Too much fertilizer can be toxic to plants.
Dead leaves and excess growth? Prune your Aloe Vera plant. Like a spa day, except less relaxing and more cutting.
Pruning
To keep your Aloe Vera looking healthy, trimming is essential! It removes dead or dying leaves and encourages new growth. Here’s how to trim it:
- Check the plant
- Choose the right tools
- Remove dead leaves cautiously
- Cut new growth sparingly
Be sure to use clean and sharp shears. Don’t cut too deep into the stalks, as this could hurt the plant. Trimming is both an art and science – it can help your Aloe Vera look beautiful and vibrant!
Did you know that gardeners have been doing this since Ancient Roman times? Back then, they’d trim plants with ivory knives for aesthetic reasons. So fun! If your Aloe Vera is looking a bit rough, it might just need some trimming love.
Common Aloe Vera Problems
To troubleshoot common Aloe Vera problems, you may encounter pests and diseases. Don’t worry! There are solutions for these types of problems. First, we’ll explore the various pests and diseases that can affect your Aloe Vera plant. Then, we’ll provide you with possible solutions that you can use to treat your plant and overcome these issues.
Pests and Diseases
Aloe Vera is prone to pests and diseases, leading to stunted growth and impacting its healing properties. Mealybugs, spider mites and scale can all infest Aloe Vera. Moreover, root rot due to overwatering or poor drainage is fatal. Fungal infections may arise due to high humidity or contaminated soil.
To protect your aloe, ensure proper drainage with a well-draining potting mix and adequate sunlight. In case of an infestation, isolate the plant and use insecticidal soap or neem oil. Regular inspection of plants can help detect issues early.
Aerate the soil to avoid stagnant water and bacteria growth. Water moderately until the topsoil is dry and don’t water till it pools around roots. Hygiene is key; avoid reusing infected soil from previous plants.
Solutions for Common Problems
Tackling Usual Troubles with Aloe Vera:
Aloe vera plants are preferred houseplants due to their multiple advantages and low upkeep requirements. But, gardeners and plant lovers often come across issues which appear in aloe vera plants. Instead of feeling discouraged, let’s discover the best remedies to take care of your healthy aloe vera plants.
The following table offers practical solutions for the most frequent problems associated with aloe vera plant care:
| Common Problem | Solution |
|---|---|
| Brown Spots on Leaves | Less water, more sunlight. |
| Droopy Leaves | Inspect soil moisture, reduce water. |
| Yellowing Leaves | Place in bright indirect light, inspect soil moisture before watering. |
| Root Rot | Replant into fresh soil with appropriate drainage or cut affected roots. |
Apart from these usual issues, it is also important to look out for pests like mealybugs and spider mites and address them quickly using natural insecticides or treatments like neem oil.
Keeping your aloe vera plants in great condition will be much simpler by following these tips:
- Water your plant only when the soil is completely dry.
- Employ well-draining soil since water accumulation can cause root damage.
- Give plenty of sunlight to make sure photosynthesis happens appropriately.
- Consider applying fertilizer every six months to better soil nutrients.
By applying these techniques effectively, your aloe vera plant should have faultless leaves in no time.
Propagating Aloe Vera: Because one of them is not enough for all the burns from my botched cooking attempts.
Propagating Aloe Vera
To propagate aloe vera with cloning techniques and repotting is the ultimate solution for expanding your aloe collection. Cloning techniques ensure that your new plants will have the same genetic makeup as the mother plant, while repotting provides them with the space and nutrients they need to thrive. Let’s dive into these methods for propagating aloe vera.
Cloning Techniques
Cloning Techniques for Replicating Aloe Vera
Cloning techniques can be used to propagate aloe vera. This involves creating new plants from existing ones – either by stem cuttings or root division. This produces offspring with identical traits as the mother plant.
A table can demonstrate the different cloning techniques for aloe vera. Stem cutting is a method where a leaf is taken off the plant and placed in soil. Root division splits up the mother plant’s leaves with roots attached, creating a new individual. This is useful when the mother plant is too big for its container.
To replicate aloe vera successfully, the environment must be maintained optimally. The newly created plants need light, water, soil nutrients and protection from pests. Otherwise, successful propagation is unlikely.
To boost propagation rates, use rooting hormones or growing mediums like perlite. These modifications can increase root growth and survival rates.
In conclusion, cloning techniques such as stem cutting or root division are practical for propagating aloe vera. To ensure success, the plants must be provided with essential resources and care. DNA variation within different species and cultivars acquired through tissue culture may also help maintain the selected clones. Repotting aloe vera is necessary for its survival.
Repotting Aloe Vera
Managing the growth of Aloe Vera? Transplanting is key! Here’s a 6-step guide:
- Get a pot that’s big enough for the plant’s roots.
- Sanitize tools and prune dead or diseased roots from the root ball.
- Put the plant in the pot and fill in the gaps with soil mix.
- Water thoroughly and let it drain.
- Place it in a suitable spot and no sun exposure for 2 weeks.
- And don’t forget: overwatering may cause root rot.
Transplanting Aloe Vera mimics natural growth and provides better health and nutrients. For an extra plant, propagate with healthy leaves.
NASA’s Clean Air Study confirms Aloe Vera is an effective air purifier for formaldehyde and benzene indoors. So get ready to say ‘aloe’! Harvesting and using Aloe Vera is easy!
Harvesting and Using Aloe Vera
To harvest and use aloe vera for its maximum benefits, look no further than this section. With “Harvesting Leaves for Gel” and “Using Aloe Vera Gel” as solutions, you’ll be equipped with the knowledge needed to effectively and safely harvest aloe vera in order to use it for its various uses.
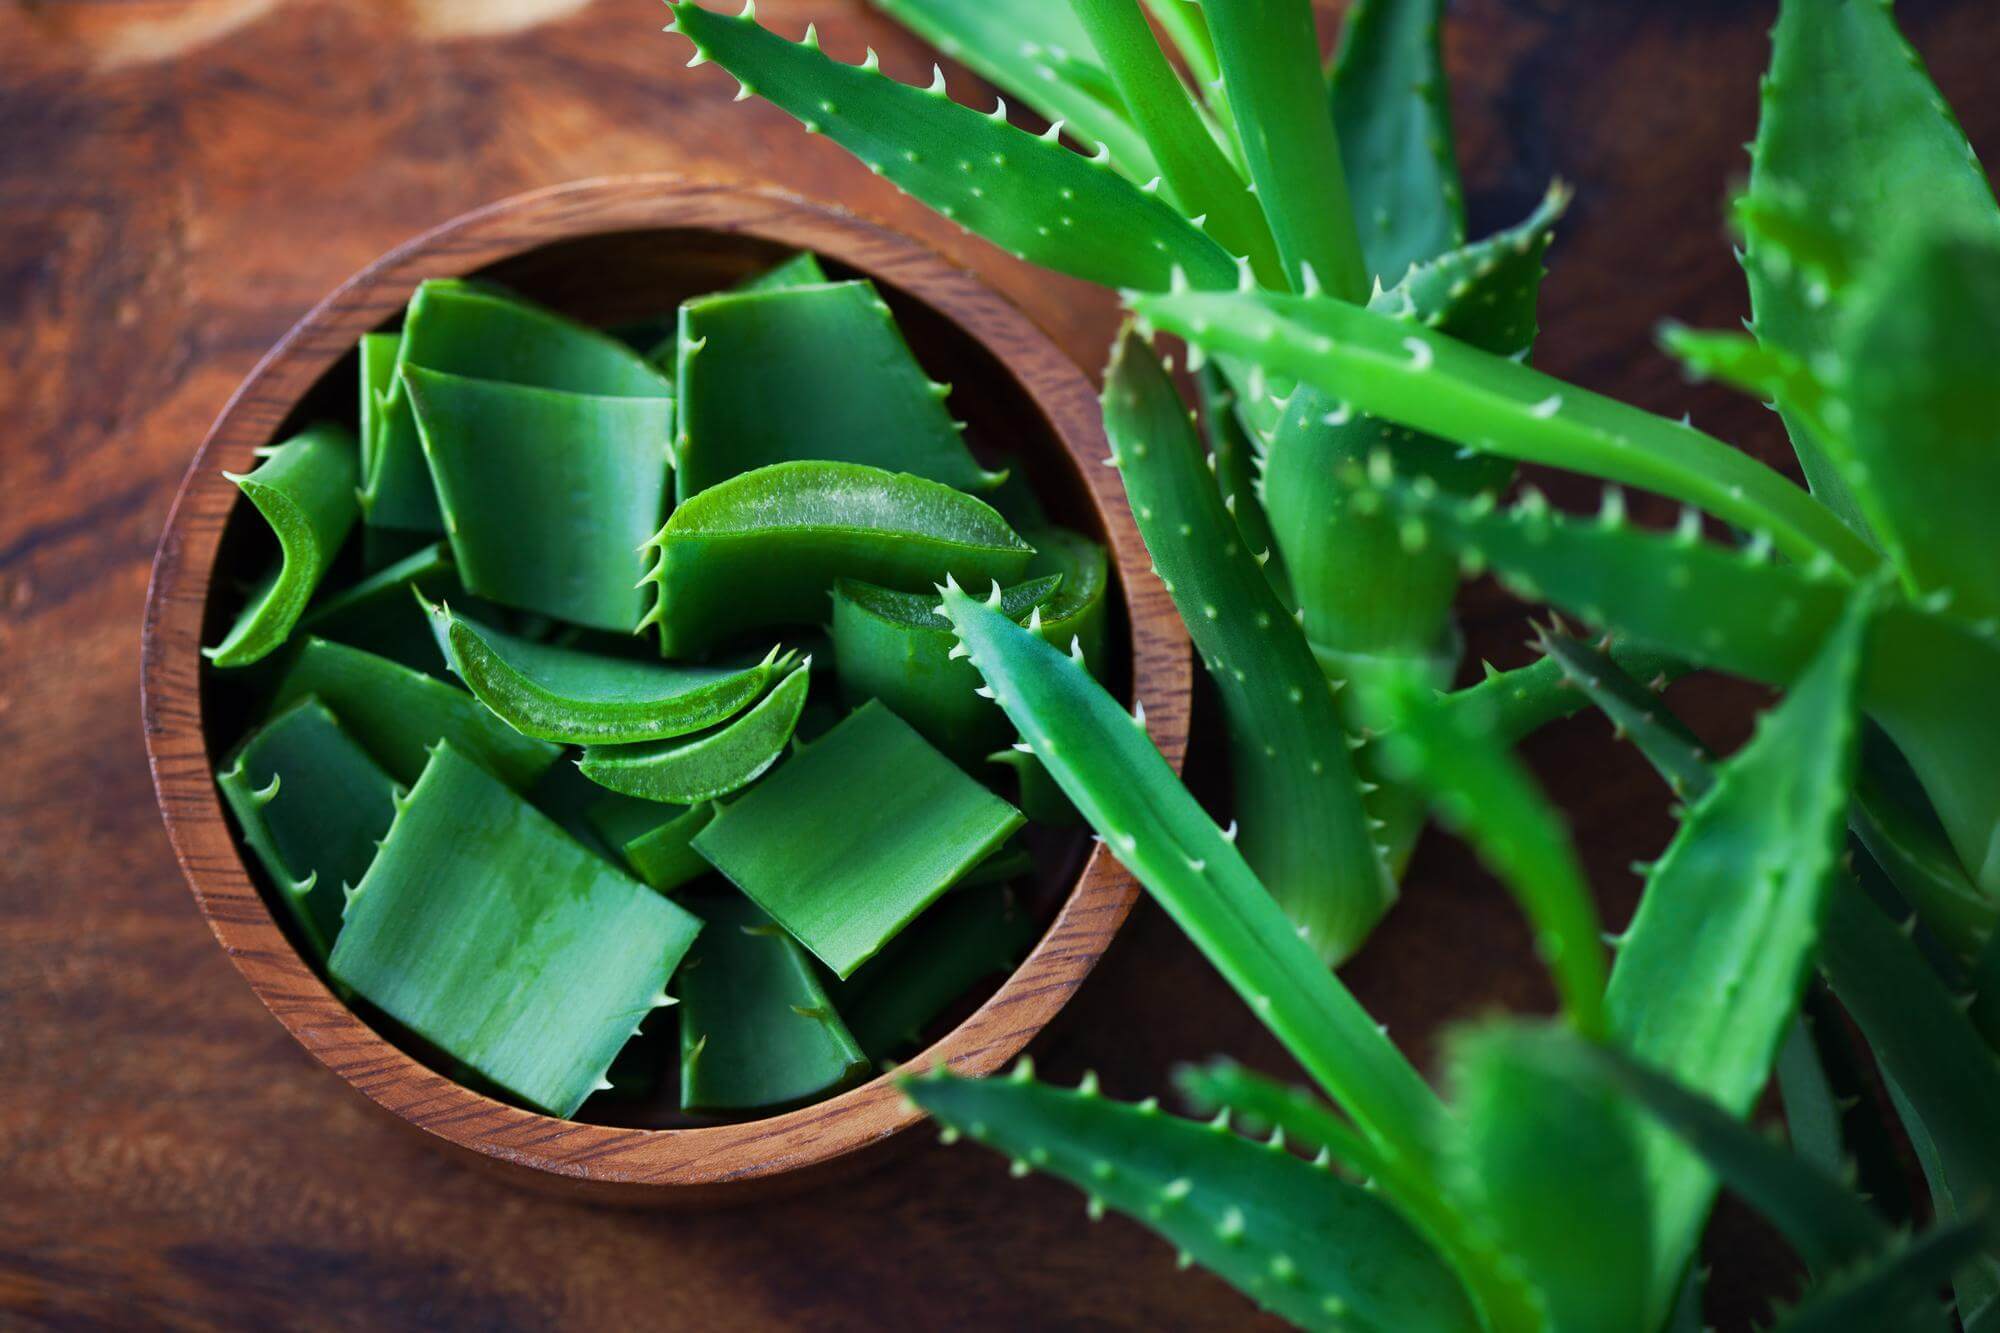
Harvesting Leaves for Gel
Harvesting Aloe Vera for Gel:
Choose a plant that’s at least three years old. Cut 3-4 leaves from the base. Rinse and dry each leaf. Slice off the top & bottom thorny edges. Scoop out the gel-like substance with a spoon or knife. Preserve in an airtight container. Refrigerate for long-term storage. Can be used immediately.
Aloe vera has been known as “The Plant of Immortality” since ancient times. Cleopatra relied on it for her skincare. Nowadays, aloe vera gel is the go-to solution for sunburn & existential crisis.
Using Aloe Vera Gel
Aloe Vera Gel: A Versatile Substance!
Aloe Vera Gel is great for many uses. Here are some ideas:
- As a Moisturizer: Apply a thin layer to your face for smooth and hydrated skin.
- To soothe sunburns: Spread it on the affected area and reduce inflammation.
- Hair Care: Mix it with your usual shampoo or conditioner for extra nourishment.
- As a First Aid Ointment: Use it on small cuts, bruises or burns – it has anti-inflammatory properties!
Did you know applying Aloe Vera Gel overnight provides the best results? Indulge in this easy-to-do treatment!
Aloe Vera is a natural remedy with many health benefits. So, next time you’re harvesting aloe from your garden or buying products, consider using DIY methods for maximum value.
Conclusion
Aloe Vera is a popular indoor plant. To keep it looking and feeling great, you need to care for it right. Use a pot with good drainage and nutrient-rich soil. Give the plant enough sun and water. Also, keep the temperature mild. Don’t over-fertilize, as it can damage the roots.
To increase your Aloe Vera’s life, propagate it by separating offsets or roots from the base. Re-pot them to keep them growing while maintaining their beauty.
Fun fact: A 2009 NASA study found that Aloe Vera is one of the most effective air-purifying plants. It removes formaldehyde from the air!
Frequently Asked Questions
1. How often should I water my aloe vera plant?
Aloe vera plants prefer dry soil and don’t need frequent watering. Water them thoroughly only when the soil is completely dry, which might be once a week or every other week depending on the season and humidity level.
2. Can I use any potting soil for my aloe vera plant?
No. Aloe vera plants need well-draining soil that doesn’t hold moisture, so it’s best to use a cactus or succulent soil mix. You can also add perlite or sand to improve drainage.
3. How much sunlight does my aloe vera plant need?
Aloe vera plants thrive in bright, indirect sunlight. They can tolerate some direct sun exposure but too much can damage the leaves. If you keep them indoors, place them near a sunny window.
4. How do I propagate my aloe vera plant?
Aloe vera plants can be propagated by separating the pups or new offsets that grow from the base of the parent plant. Wait until the pups are about a third of the size of the parent and have their own root systems. Then gently separate them from the parent, let the cuttings dry for a day or two, and plant them in their own pots.
5. Are there any pests or diseases that can affect my aloe vera plant?
Aloe vera plants are generally hardy and don’t have many pest or disease problems. However, they can be susceptible to mealybugs and scale insects. Check the plant regularly for signs of infestation and treat with insecticidal soap or rubbing alcohol if necessary.
6. Can I use aloe vera on my skin?
Yes. Aloe vera gel is a popular natural remedy for skin conditions such as sunburn, acne, and dry skin. Simply cut off a leaf, slice it open, and apply the gel directly to the affected area. However, do a patch test first to make sure you don’t have an allergic reaction.