Introduction to Philodendron Propagation
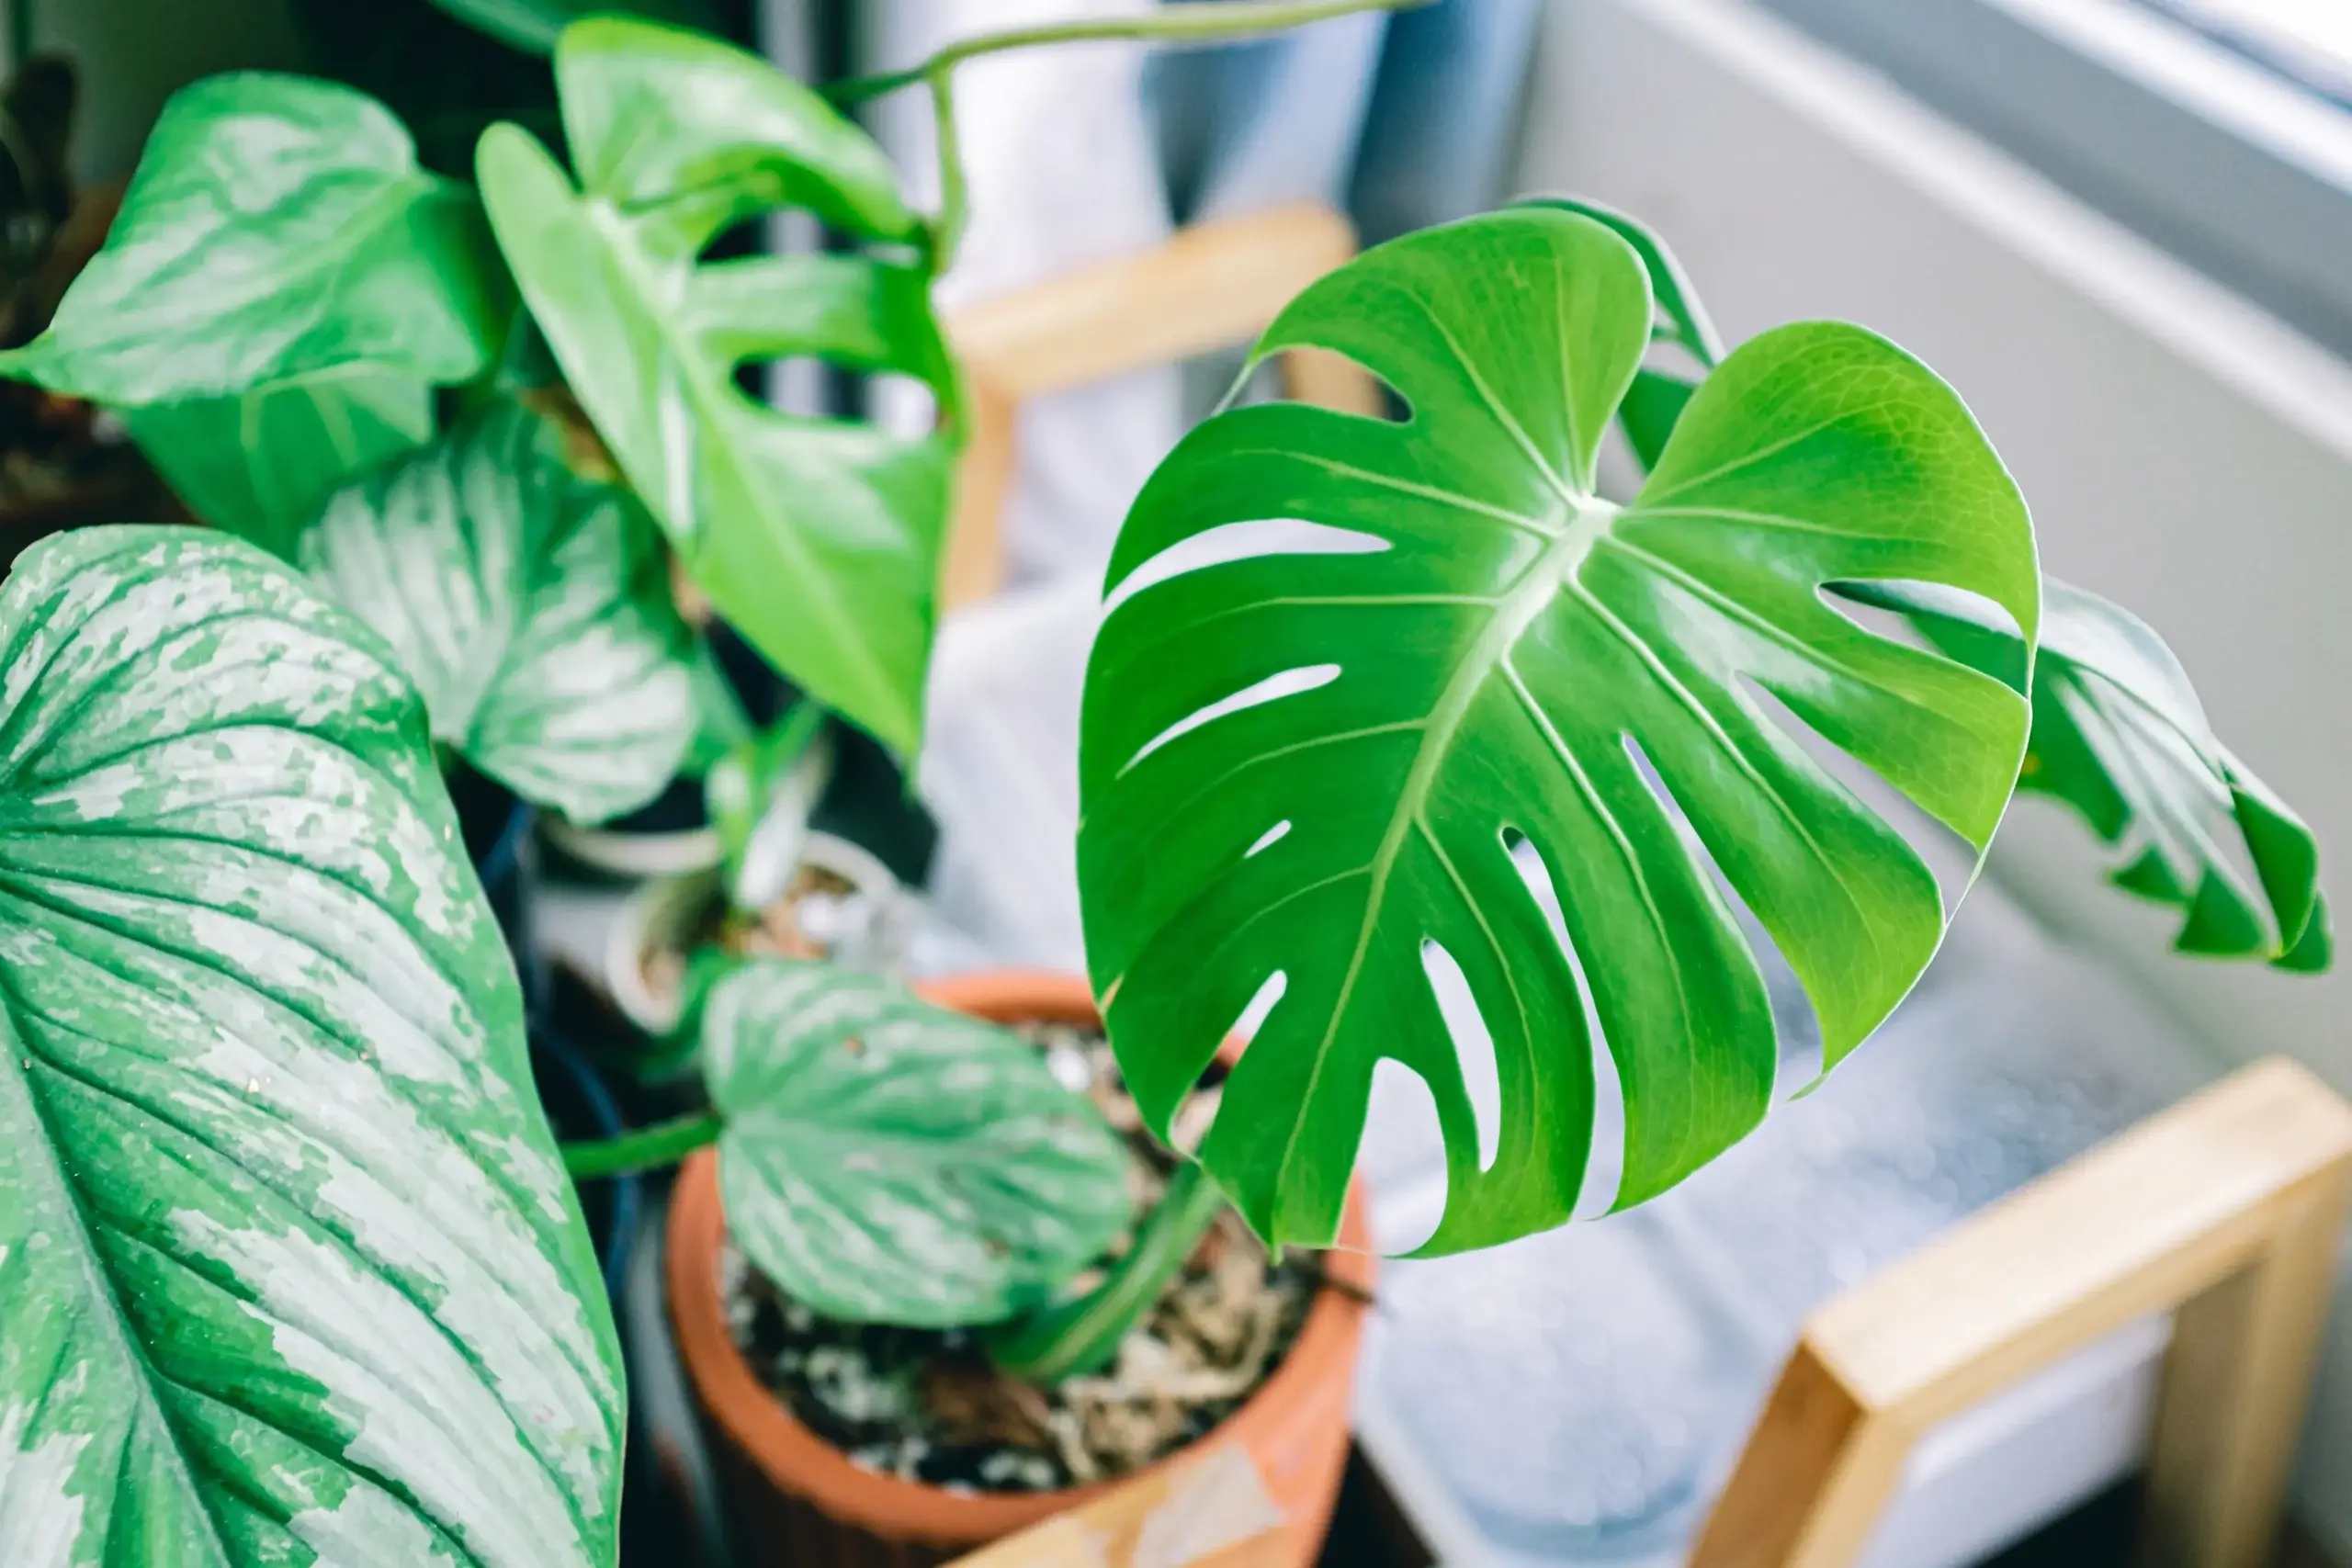
Propagating Philodendron is a simple and cost-effective way to create an indoor jungle. It can be done by stem cuttings or seed sowing. Here’s a step-by-step guide:
- Select a healthy mother plant with prominent leaves.
- Use sterilized pruning shears to take a cutting below the node. Aim for 4-6 inches long.
- Take off leaves from the bottom half of the cutting.
- Dip the bottom in rooting hormone powder.
- Plant in moist soil or water, then put in warm and indirect sunlight.
- In 4-6 weeks, your new Philodendron plant should have roots and leaves.
Most species of Philodendron easily root from cuttings – perfect for propagation beginners. But some rare ones might need tissue culture.
Did you know that there are over 500 species of Philodendron? The name comes from “philo” meaning love, and “dendron” meaning tree. These plants adore climbing trees in their natural habitats. So, grow a philodendron army using these propagation methods!
- Introduction to Philodendron Propagation
- Methods of Propagation
- Choosing the Right Propagation Method for Your Philodendron
- Maintaining and Caring for Your Newly Propagated Philodendrons
- Conclusion: Enjoying Your Newly Propagated Philodendrons
- Frequently Asked Questions
Methods of Propagation
Propagation Techniques for Philodendron
Propagating Philodendron is an easy way to get new plants with the exact characteristics of the parent plant. Below is a table depicting some of the most common and effective methods of propagating Philodendron:
| Propagation Method | Description |
|---|---|
| Stem Cuttings | Using sharp, sterilized shears, cut a stem that has at least one node. Allow the cutting to callous over for a few hours before planting it in soil or water. |
| Air Layering | Make a diagonal cut on the stem, remove the bark, and wrap the area in moist sphagnum moss and plastic wrap. After a few weeks, roots will form, and the new plant can be removed and potted. |
| Division | Gently remove the plant from the pot, and separate the roots into multiple sections. Replant each section in its container or area. |
| Offsets | When repotting, be sure to check for offsets, or small plants that have developed from the parent plant. These can be separated and potted on their own. |
Aside from the above techniques, it’s important to note that Philodendron can also be propagated through seed. However, it can be more challenging and time-consuming than the other methods mentioned above.
Philodendron propagation has a rich history dating back to ancient times when the indigenous peoples of the Americas used the plant for medicinal purposes. Today, it is a popular houseplant due to its accessibility and a wide variety of species available.
Cutting corners has never been easier than with stem cuttings for propagating Philodendron – just don’t literally cut corners of the plant.
1. Stem Cuttings
Propagation through cuttings is when a part of the parent plant is taken and grown into a new plant. A common propagation technique is cutting a stem. This requires removing a piece of stem, using Semantic NLP techniques.
To do this, follow these steps:
- Choose a healthy stem
- Cut the stem at an angle & remove any leaves
- Put in water or soil to develop roots
- Monitor & keep moisture levels until new growth appears
It’s best for plants with actively growing stems. Plus, this method can create clones of the parent plant.
An interesting fact about this propagation is the ancient Greeks used fig trees for religious purposes. They used cuttings to propagate the trees, so they had enough fruit to feed their people.
Trim your stem for propagation – be a plant parent without the commitment.
Preparing the Stem Cutting
For successful propagation of a stem, key steps need to be taken. Here’s a four-step guide:
- Choose a healthy plant. Slice a 4-6 inch long cutting with a sharp and sterilized blade.
- Get rid of the lower leaves and even out the edges of the stem.
- Dip the cut part in rooting hormone and tap off any excess powder.
- Bury the cutting in wet soil or another medium, with at least half of it covered.
To heighten the chances of survival, make sure the cutting is from a healthy and disease-free plant.
According to Rattanapanon et al. (2018), using rooting hormone on plants leads to more roots in cuttings, hastening growth and creating better plants.
Test your gardening know-how: see if you can root stem cuttings.
Rooting the Stem Cutting
Propagating plants through stem cuttings is a go-to horticulture technique to reproduce plants with similar characteristics. This process involves taking root the stem cuttings, making them grow into a new plant. Here’s a step-by-step guide to do it:
- Pick a healthy stem from the plant.
- Take several inches long cutting below the node, using a sharp and sterile knife.
- Remove leaves from the bottom of the cuttings.
- Dip base of the cutting in rooting hormone powder, shake off excess powder and insert it in moist soil or water.
- Keep the soil or water consistently moist until roots are well-developed.
Temperature and humidity levels can affect success rate, so keep an eye on them. Plus, providing lots of airflow works too. Moderate light exposure is beneficial for root development. But direct sunlight can be harmful, so watch out! With proper care, rooting stem cuttings can be an easy and cost-effective way to propagate your favorite plants. Planting a stem cutting in soil is like giving it a one-way ticket to adulthood – with more photosynthesis and less responsibility!
Transferring the Stem Cutting to Soil
Time to move the stem cutting from water to soil, a necessary step for growth and survival of the new plant. Follow these 3 steps:
- Pick a pot with well-draining soil and make sure it has drainage holes at the bottom.
- Take the stem cutting out of water and use a paper towel to dry off the excess moisture.
- Dig a hole in the soil, place the stem cutting inside, cover with soil, and press gently around the base.
Place stem cuttings in an area with indirect light. Keep them moist but not over-watered. Also, track the species of each cutting, as this will affect their needs during propagation.
Pro tip: Use rooting hormone powder or gel with difficult-to-root plants for better success rates. A divided plant is a happy plant!
2. Division
Propagation by Separation:
Separation is a technique for growing a plant from part of an existing one, like a leaf or stem. It’s often used for succulents, spider plants, and African violets.
Separation can be done two ways: root separation or stem separation. Root separation involves removing the roots and planting them separately. This needs careful handling to keep the roots intact and healthy. Stem cuttings are another way to propagate through separation.
Plus, root separation helps the parent plant too! It stimulates new root growth, which leads to healthier growth overall.
Separation has been around for centuries. Ancient Chinese herbalists used roots from medicinal plants in their remedies. Nowadays, it’s still a popular and effective method for gardeners everywhere.
Division of a plant is like a break-up – painful, but necessary for growth.
Preparing the Plant for Division
Divide plants for propagation? Don’t forget to prepare! Here’s a six-step guide:
- Water the plant a day or two before division. Hydrated roots are easier to separate.
- Dig around the base of the plant with a clean, sharp gardening tool. Go deep enough to free the root ball.
- Gently separate any entangled roots using fingers or a garden fork. Don’t tear any roots.
- Shake off excess soil. Now you can see any areas that need pruning.
- Prune off any brown or dead-looking areas on the root ball. This reduces stress on the new plants.
- Divide further using steps 2-5 above & replant with potting soils.
Remember, different plants require different steps. Never wait too long without division! Pro tip: Make sure each section has enough root mass and foliage when replanting. This increases survival chances! Who needs friends when you can just separate your plant into smaller sections and create a whole new squad?
Separating the Plant into Smaller Sections
Division propagation is an effective way to grow plants. Separate mature plants into smaller parts, each with its own roots and stems. Here’s how to do it:
- Choose the right time – active growth phase.
- Prep the plants – water well and remove dry or damaged leaves.
- Divide the plant – use hands or a sharp tool to cut each section. Clean the tool before cutting each section to avoid infections that could harm the stem tissue.
- Replant and care – put each section in soil, water thoroughly, and give proper lighting.
Division propagation has many benefits – it produces several healthy plants easily. For better results, use fresh potting soil for replanting, as it provides necessary nutrients for fast growth. Follow these steps and you’ll get flourishing new plants and expand your green collection! Tinder for plants? Time to matchmake and get those divided sections into some dirt.
Transferring the Divided Sections to Soil
Propagating plants is essential. Here’s a guide to help you!
- Prepare the soil. Make sure it’s moist and has enough nutrients.
- Then, make a hole deep enough for the roots of the divided section.
- Gently insert the plant and cover all roots. Water regularly and watch it grow!
Different plants need different amounts of water and sun. Research your plants before transferring them into soil. I once propagated an avocado tree by dividing its stem and rooting each section into separate pots. All three grew healthily, giving me three new avocado trees! For extra breathing room, try air-layering – it’s like giving them a private jet!
3. Air Layering
Creating a New Plant through Stem Propagation
Stem propagation is an effective way to make a new plant. This involves taking a stem from an existing plant and rooting it to make a genetically identical one. Here’s a guide:
- Find a healthy stem with leaves.
- Cut the bark of the stem where you want roots to grow.
- Cover the cuts with moist moss and wrap it with plastic.
- Wait for roots to form, then cut the stem and transplant the new plant.
Pro Tips:
- Use rooting hormone on the cut area before applying moss for quicker root growth.
- Keep your new plant in humid conditions until it’s settled in its new pot or place.
You can create new plants using stem propagation without needing any special equipment or horticulture know-how! Plus, there’s air layering for when you want to give your plant a fancy spa treatment.
Steps for Air Layering
Air Layering is great for plants with tough-to-root stems. Here’s a guide:
- Choose a healthy stem.
- Make a 1-2 inch cut in the bark.
- Put rooting hormone on the wound.
- Cover it with soil or moist sphagnum moss.
- Tie or tape the covering.
It takes a few months to get roots, but can be done at any time.
Pro Tip: Wrap plastic around the covering, like a mini greenhouse.
Wish I could transfer my emotional baggage to soil as easily as with air layers!
Transferring the Air Layered Section to Soil
Transplanting the Air Layered Section into Soil:
A 3-Step Guide to get it done!
- Fill a suitable container with well-draining soil mix.
- Remove the section from its parent plant without damaging any roots or budding leaves.
- Plant the section into the container, keeping the soil moist.
Additional Details:
Keep an eye out for signs of stress or disease. Keep the container in a warm and humid environment until new growth appears.
Improving Success Rate Suggestions:
- Maintain consistent moisture levels during air layering and transplanting.
- Apply a rooting hormone before planting for extra root growth.
Follow these steps and suggestions to successfully propagate new plants through air layering!
Choosing the Right Propagation Method for Your Philodendron
Philodendrons are easy to propagate, but choosing the right method is crucial for success. Different species require different methods, including stem cutting, air layering, and division. The right approach will depend on the plant’s characteristics and desired outcome.
Below is a table outlining the different propagation methods for common Philodendron species, along with their recommended season and success rate.
| Species | Propagation Method | Recommended Season | Success Rate |
|---|---|---|---|
| P. cordatum | Stem Cutting | Spring or Summer | High |
| P. selloum | Stem Cutting | Spring or Summer | High |
| P. bipinnatifidum | Air Layering | Spring or Summer | Medium |
| P. hastatum | Division | Spring | High |
In addition to the above techniques, new Philodendrons can also be propagated through leaf cuttings or leaf-bud cuttings. However, these methods are less dependable and may result in slower growth.
Pro Tip: For best results, select a healthy, mature plant and choose the propagation technique that aligns with the species and desired outcome. Proper care and patience are key to the success of your propagation efforts.
Before you start propagating your philodendron, consider factors like lighting, temperature, and whether or not your roommate has a habit of murdering plants.
Factors to Consider
Philodendron is a popular houseplant that can be propagated in various ways. But before you get started, several factors should be taken into account. A table of these important elements can aid in choosing the right propagation method. These include: Plant Size, Availability of Stem Cuttings, Time Constraints, Experience Level and Desired Outcomes.
It’s also important to remember that different types of philodendron might need special care. So, research the plant variety requirements before picking your propagation technique.
One gardener tried stem cuttings but ended up with a rotten plant due to overwatering. After further investigation, they figured out that philodendrons don’t need much water for propagation as their original leaves contain enough moisture for success.
Choosing the ideal propagation method involves evaluating multiple factors while keeping in mind the particularities of each plant species. Being mindful and thorough through research will surely increase the chances of success for gardeners or indoor plant enthusiasts who want healthy philodendrons in their homes.
Not sure how to choose between a chainsaw and a butter knife? Don’t worry, it’s not as complicated as selecting the best propagation method for your philodendron!
Pros and Cons of Each Method
Weighing up the pros and cons of each propagation method for your philodendron is essential. Here’s a breakdown of what you need to know:
Propagation Method Pros Cons
| Propagation Method | Pros | Cons |
|---|---|---|
| Node Cutting |
|
|
| Stem Cuttings |
|
|
| Air Layering |
|
|
| Water Propagation |
|
|
Testing out different methods on your plant is helpful. Some techniques may produce quicker results than others. But patience and attention to detail are crucial. When dealing with stem cuttings, keep the workspace and tools clean to avoid introducing bacteria. Now that you have created tiny plant clones, you are in charge of their care!
Maintaining and Caring for Your Newly Propagated Philodendrons
After propagating your philodendron, it is essential to take proper care of it. To ensure the growth and sustainability of your newly propagated philodendrons, follow these five simple steps –
- Water your plant regularly, but not excessively.
- Place the plant in a well-lit area but avoid direct sunlight
- Use good quality fertilizer with balanced nutrients.
- Maintain an ideal temperature of around 68-86°F(20-30°C).
- Avoid repotting your philodendron until necessary.
These steps can guarantee the healthy growth of your propagated philodendrons.
You can also consider pruning your philodendron to ensure optimal growth by removing any dead or damaged foliage or stems.
It is essential to keep an eye out for any pests or diseases that may harm the plant and treat them promptly. Properly maintaining and caring for your newly propagated philodendrons can ensure longevity and healthy growth.
Did you know that philodendrons are native to tropical regions of South America? The name Philodendron means “tree hugger” in Greek and is derived from its tendency to climb and hug trees in their natural habitat.
Don’t drown your philodendron, unless you want it to end up like the Titanic.
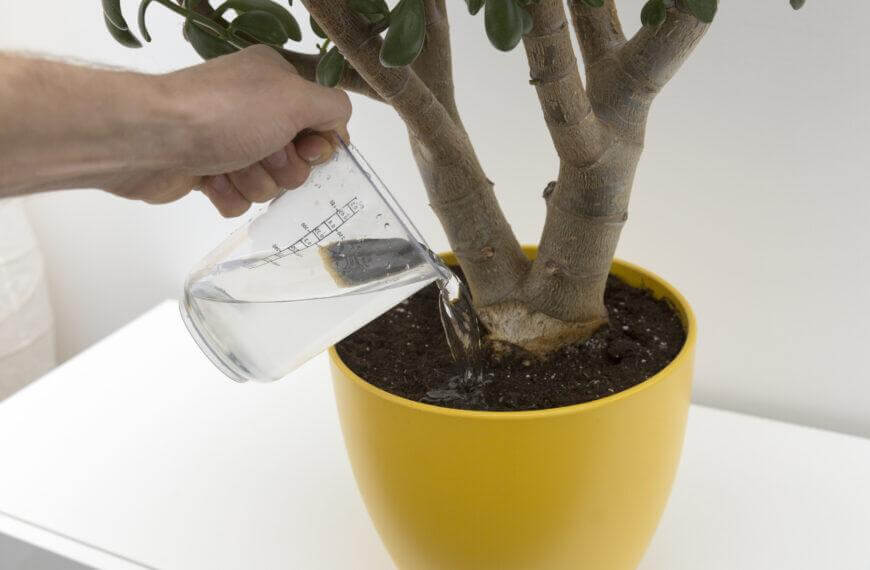
Proper Watering Techniques
Caring For Your New Philodendrons? Here’s What You Need To Know!
Newly propagated philodendrons need special care. Too much or too little water can damage their growth. Here’s a 5-step guide to keeping them hydrated:
- Check the soil moisture with your finger.
- Factor in natural light and temperature.
- Water when the top inch of soil is dry.
- Pour water slowly and evenly until there’s drainage.
- Discard excess water after 15-20 minutes.
Remember, humidity and water quality also matter. Use a humidifier or pebble tray to add moisture. Consider using distilled or filtered water to avoid chemicals and minerals.
Proper watering takes practice. Don’t forget – it’ll be worth it in the end! And don’t over-fertilize – no one wants plant rave parties!
Fertilizing
Propagating a Philodendron requires nutrient-rich soil. Here are some tips for nourishing your new plants:
- Add fertilizers to the soil. This gives essential nutrients for growth.
- Use balanced fertilizers with nitrogen, phosphorus, and potassium in equal parts.
- Apply fertilizer every 4 – 6 weeks during the growing season.
- Be careful not to over-fertilize as it will burn the leaves.
Monitoring the soil pH levels is important so that the roots can uptake the nutrients.
Rapid growth may require pruning. Pruning encourages new growth and removes dead or damaged parts of the plant.
Adding shredded newspapers or straw beneath the topsoil layer can help retain moisture and reduce weed growth.
Following these methods will ensure healthy development of your Philodendron. Growing ourselves, however, is an entirely different matter.
Transplanting
Transplanting your new Philodendrons? Here’s a five-step guide to help you out!
- Fill the pot with fresh, rich soil.
- Carefully remove the plant from its container, taking care not to damage the roots.
- Place the plant in the pot at the correct depth and position.
- Fill any gaps around the plant with soil.
- Water the Philodendron thoroughly.
Transplanting should be done during spring or summer when the plants are actively growing. Make sure they’re not already stressed before you start.
Fun fact: Philodendrons can help reduce stress and improve productivity in our indoor spaces, according to a study published in The Journal of Indoor Plant Biology & Research.
May your green thumb grow ever stronger as you enjoy the jungle-like paradise of your newly propagated Philodendrons!
Conclusion: Enjoying Your Newly Propagated Philodendrons
After your Philodendron is propagated, you’ll want to know how to look after it. Here’s what to do:
- Put the new plants in fresh soil with proper drainage.
- Water your plant regularly, keeping the soil moist but not too wet.
- Place your plant in a warm area, out of direct sunlight.
- Fertilize occasionally with nitrogen, potassium and phosphorous.
- Get rid of dead or yellow leaves for new growth.
It’s important to remember that a well-cared-for philodendron can grow up to 10 feet! You can train it to climb trellises or stakes for decoration.
Philodendrons come in different varieties. Make sure you know what type you have for best results.
A friend once propagated a Philodendron Xanadu and kept misting it with water too much. Don’t over mist – it can cause rotting.
Frequently Asked Questions
Q: What is the best time of year to propagate philodendron?
A: The best time to propagate philodendron is during the spring and summer months when the plant is actively growing.
Q: What tools do I need to propagate philodendron?
A: You will need a sharp, clean pair of scissors or pruning shears, a clean container filled with potting soil or rooting hormone, and a spray bottle filled with water.
Q: What is the best method for propagating philodendron?
A: The most common method for propagating philodendron is by stem cuttings. Simply cut a 4-6 inch section from the stem with a few leaves attached, remove any lower leaves, and place the cutting in soil or rooting hormone.
Q: How often should I water my propagated philodendron?
A: Water your philodendron cutting once a week or when the top inch of soil feels dry. Be sure not to overwater, as this can cause rotting.
Q: How long does it take for a propagated philodendron to establish new roots?
A: It typically takes 2-4 weeks for a philodendron cutting to establish new roots. During this time, it is important to keep the cutting moist and out of direct sunlight.
Q: Can I propagate philodendron from a leaf?
A: While it is possible to propagate philodendron from a leaf, it is not the most effective method. It can take several months for a new plant to sprout from a leaf, and success rates are much lower compared to stem cuttings.


