Basic Needs of a Rubber Plant
To ensure your rubber plant thrives, you must understand its basic needs. With this section on ‘Basic Needs of a Rubber Plant’ and its sub-sections – ‘Light Requirements, Temperature Requirements, Watering Requirements, Soil Requirements’ – you’ll discover the perfect conditions that will enable your rubber plant to grow healthy and strong.
Light Requirements
Rubber Plants require an exact amount of light – not too much, not too little. Bright indirect sunlight is ideal, placed near a window with filtered sunlight. For medium light, place it some distance from the window. Low light means placing it indoors without access to direct sunlight.
Temperature changes and drafts can affect their photosynthesis process and cause leaf shedding. So, keep them away from cold drafts or air conditioning units. Also, maintain humidity levels to promote foliage growth.
Finally, for optimal results, rotate Rubber Plants every few months. This helps even growth and ensures ample exposure to sunlight. Pruning overgrown leaves and stems also supports healthy growth of young leaves and reduces nutrient consumption by old foliage.
Temperature Requirements
Rubber Plant Temperature – The Key to Perfection!
The Rubber Plant needs specific temperatures for growth and survival. Providing the right temperatures are critical for optimal health. Studies suggest ideal temperatures of 17°C to 30°C (63°F to 86°F). Outside this range, the plant may suffer or even die.
This range may vary depending on the plant’s location and environmental factors. Low humidity? Set a higher temperature of 30°C (86°F) to avoid dry leaves.
Be a pro gardener and monitor temperature with a thermometer. This way, you can ensure your plant gets proper conditions for healthy growth.
Watering the Rubber Plant is like negotiating with a toddler – you never know if you’re giving too much or too little.
Watering Requirements
Watering your rubber plant is essential for its growth and health. Depending on the soil, environment and size, watering frequency varies. Make sure to water your rubber plant regularly but don’t overdo it.
We suggest watering your rubber plant thoroughly once a week. Before that, check the soil by inserting your finger 2 inches deep. If it feels dry, proceed with the watering.
You must be careful not to over-water, as it can lead to root rot or other ailments. Make sure that excess water drains away and use well-draining soil when planting.
Pro Tip: Always use room temperature water. Hot or cold can shock its roots. Remember, taking care of your rubber plant isn’t only about the soil, but also about the soul of the plant.
Soil Requirements
For a Rubber Plant’s success, its soil composition is vital. The substrate should provide ideal drainage, aeration, and nutrients. To represent the needed info clearly, use a table with four columns:
| Soil Type | pH Level | Moisture Content | Fertilization |
|---|---|---|---|
| Peat-based or potting mix high in organic matter, yet free-draining | 5.5 to 7 | Moist to slightly dry | Monthly with low/balanced nitrogen, phosphorus, and potassium |
Compost-enriched soil, alkaline pH, and stagnant moisture are not tolerated by Rubber Plants. From Brazil’s Amazon region, these plants grow wild as small trees up to 100 feet tall. Sap from their leaves was once used for rubber production – hence the name! Taking care of a Rubber Plant is similar to having a pet, but without the love and affection. Just all the responsibility and guilt.
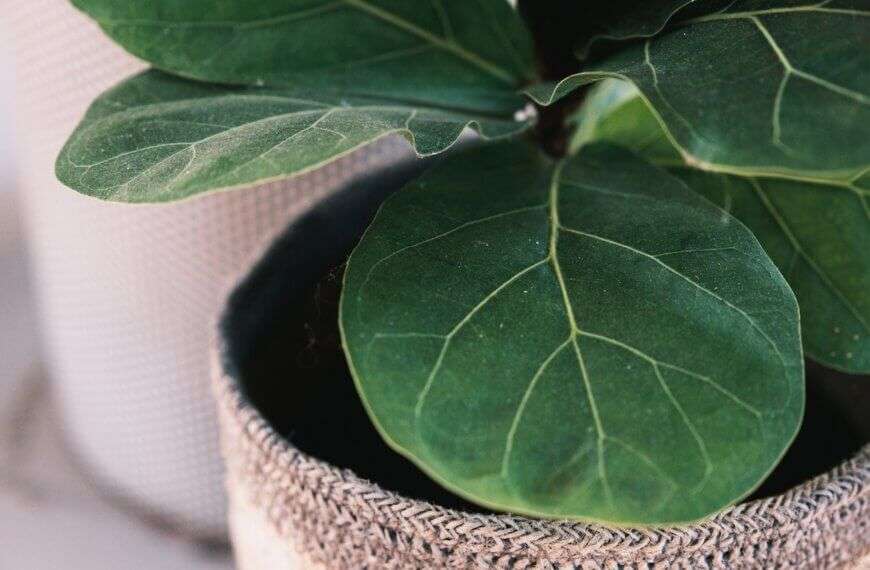
Maintenance of a Rubber Plant
To maintain the health and beauty of your rubber plant, you need to take proper care. To help you with that, this segment covers the necessary maintenance steps for your rubber plant, including repotting, pruning, cleaning leaves, and fertilizing. By following these sub-sections, you can keep your plant healthy and vibrant for years to come.
Repotting
When to Repot Your Rubber Plant?
Repotting is important for keeping your plant healthy and growing. You should repot every 2 years or when the roots start peeking out from the bottom of the pot. Here’s a guide:
- Choose a bigger pot than before.
- Fill with fresh soil.
- Take out the plant and remove extra soil.
- Cut off any damaged or rotten roots using sharp scissors.
- Place the rubber plant in its new pot and fill the gaps with soil.
- Water it thoroughly.
Extra Tips:
- Mix perlite or coarse sand in the soil for better drainage.
- Avoid repotting when the plant is actively growing, as it may shock it, making it difficult to recover.
For Keeping It Healthy:
- Water sparingly to avoid root rot.
- Wipe leaves with a damp cloth to keep them clean.
- Prune new growth when it reaches 6 inches to make it bushier.
By following these steps, you can guarantee that your rubber plant will remain healthy and thriving!
Pruning
For a Rubber Plant to thrive, regular maintenance is essential. Pruning is one key factor that helps promote growth and maintain its shape. Here are some easy steps to follow:
- Begin by sterilizing your pruning shears with rubbing alcohol.
- Snip off any yellowed or damaged leaves.
- Cut away any overgrown or too close together stems at the base of the plant.
- Trim back any branches that have become too tall to let light reach all parts of the plant.
- After pruning, make sure the plant has enough water but not too much.
Do not remove more than 1/3 of the foliage at once as this can be too much for the plant. Also, avoid cutting off any new shoots at the bottom as this weakens the roots.
To help it branch out, prune the plant three times a year.
Therefore, it is important to prune your Rubber Plant regularly to ensure its health and appearance.
Rubber Plants are native to tropical areas such as Malaysia, Indonesia and China. Cleaning leaves gives the plant a sense of peace and is also a great way for you to relax. Plus, don’t forget to water it!
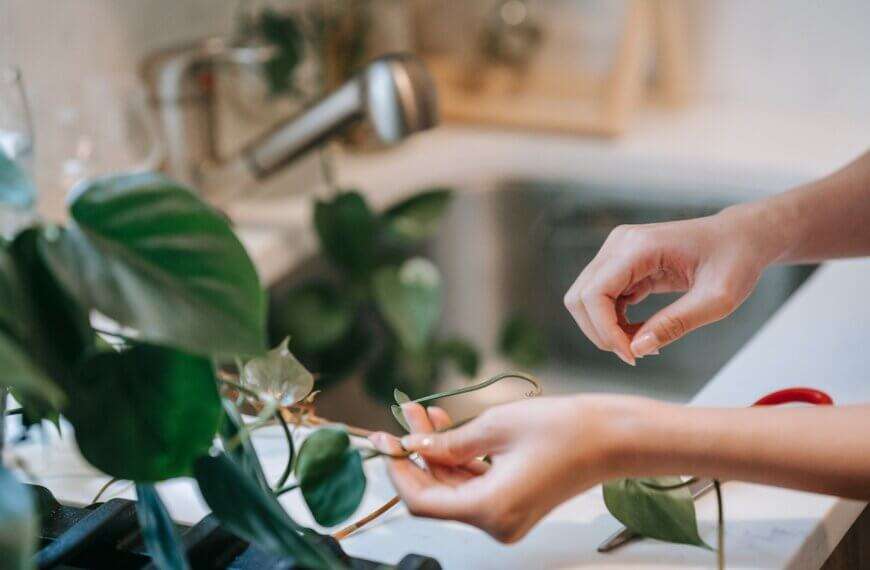
Cleaning Leaves
Clean Foliage for Proper Hygiene of Rubber Plants!
Cleaning the foliage of your rubber plant is key for proper hygiene. Unclean leaves can lead to dust and insect infestation – not good for your plant’s health.
Here’s a 4-step guide to cleaning:
- Dusting: Use a soft cloth or sponge, dipped in lukewarm water. Gently wipe both sides of the leaves.
- Washing: Fill a bucket with lukewarm water, and add mild liquid soap. Clean top and bottom of each leaf.
- Rinsing: Rinse each leaf with lukewarm water. Make sure to remove any soap residue.
- Drying: Pat the leaves dry with a clean cloth. Place the plant in the shade until completely dry.
Be careful! Cold water can damage the leaves, and too much soap can harm the foliage. Plant lovers, make sure to follow our 4-step guide correctly and regularly to maintain healthy foliage on your rubber plants. Don’t let the dirt be the reason for failing health in your beloved plants! Give them some spinach (aka fertilizer) and they’ll bounce back in no time.
Fertilizing
Fertilization!
To encourage growth and vibrancy, fertilize your rubber plant. Here’s what to remember:
- Use a balanced, water-soluble fertilizer.
- Fertilize during the growing season (spring to summer).
- Follow manufacturer’s recommended dosage.
- Water the plant before and after fertilizing.
Be careful not to over-fertilize, as this can lead to burnt roots and damage. Ensure your rubber plant’s health by factoring in environmental elements like lighting, temperature, and moisture. Also, you may need to make adjustments to light exposure or repot from time to time.
Brown leaves are common, but luckily the solution doesn’t involve Photoshop!
Common Problems and Solutions
To tackle common problems that your rubber plant might face, this section “Common Problems and Solutions” of “How to Care for a Rubber Plant” with “Pests and Diseases, Yellowing Leaves, Brown Spots on Leaves, and Dropping Leaves” as sub-sections. Each sub-section provides a solution to the specific issue and helps you maintain a healthy and thriving rubber plant.
Pests and Diseases
Harmful organisms can be hazardous to plants’ health and vitality. Here are some common challenges gardeners face, and their solutions:
- Insects: Aphids, scales, and spider mites harm plants. Insecticides like neem oil or soap solutions can be sprayed on the foliage to get rid of them.
- Fungal infections: Fungi thrive in moist environments. Examples are powdery mildew, botrytis, and rusts. Spacing plants apart and having good air circulation can help avoid these problems.
- Bacterial infections: Wilting or rotting areas might suggest bacterial infection on the plant surface. To prevent this, don’t splash soil onto leaves and roots. Copper sulfate sprays can cure the problem.
- Viral infections: Viruses infect plants when their immune system is weak. There is no cure. However, preventive measures like buying from trustworthy vendors and disinfecting tools can help.
- Weed infestations: Weeds can stop healthy plants from growing. Cover crop rotation (using nitrogen-fixing legumes) and mulching (using grass cuttings/straw/clippings) can help.
For people in hot climates with summer mosquitoes, mosquito repellent cream is essential. It’s a good idea to read reviews about particular creams.
Growing zucchini? Know this story—one gardener had a large zucchini crop, but it was lost due to Squash mosaic virus. The only way to protect future crops from this virus was to do crop rotation and change seed sources regularly.
Finally, autumn leaves are here!
Yellowing Leaves
Leaf discoloration is a common problem for plants. It often happens due to too little or too much of nutrients, water, or light. Identify the cause and treat it right away to keep your plant healthy and growing.
Yellowing leaves may mean a lack of nitrogen or overwatering. To fix this, use a nitrogen-rich solution or reduce watering. It may also be due to salt buildup in soil from tap water or fertilizer. Flush the soil with distilled water to fix this.
Test the pH levels and make sure the drainage is good. With proper care, yellowed leaves can regain their natural color.
Do you know that certain plants are more prone to yellowing leaves? Citrus trees, for instance, need specific nutrient ratios and don’t adjust well to sudden changes in environment. Source: University of California Agriculture and Natural Resources. If your plant’s leaves have brown spots, just tell people it’s a fashionable pattern!
Brown Spots on Leaves
The leaves show a discoloration which appears to be caused by pathogenic bacteria and fungi. They start off as small splotches or dots that grow into bigger, dark brown/black spots with yellow halos around them.
The leaves may wilt and then rot, shedding prematurely. To treat these brown spots, prune dead leaves and water the plant correctly. Avoid wetting the foliage during watering as this can promote bacterial growth.
Inspect each plant regularly to spot any diseases quickly. Ignoring this can spread the disease to other plants, resulting in crop damage.
Studies suggest that such infections can be linked to declining soil quality and improper watering, reducing crop yields in the long run.
Don’t worry, your tree isn’t shedding its leaves. It’s just giving them to the sidewalk!
Dropping Leaves
Leaves Falling: Reasons and Solutions
When leaves fall off your plants, it can be worrying! There are many reasons why this happens. Such as:
- Temperature extremes can cause stress on plants, causing leaves to drop.
- Fungal infections and bacterial growths can make leaves fall off.
- Pests like spider mites and aphids attack the leaves, making them drop.
If only the bottom leaves are falling off, it’s probably normal aging. But if the plant shows signs like yellowish-grey tones, leaf shedding or stunted growth, there could be a problem.
Fun Fact: Orange trees lose leaves from December to April, because new foliage appears every spring!
If relationships were as easy to propagate as rubber plants, we’d all be pro gardeners!
Propagation of Rubber Plants
To propagate your rubber plant successfully and expand your collection, you can use stem cuttings or air layering. Creating new plants from a single source can save you money and add more greenery to your home. Learn about stem cuttings and air layering to expand your rubber plant collection effortlessly.
Stem Cuttings
Concerning Rubber Plants, a popular way to propagate is with stem cuttings. Doing so will create new growth and new plants, which can be great for expanding collections or giving away. To propagate through cuttings:
- Choose a branch with no damage or sickness.
- Cut 4-6 inches below a leaf.
- Remove leaves from the bottom of the cutting. Put the cutting in soil with good drainage. Keep the soil moist and the cutting out of direct sunlight until roots form.
Timing, temperature, and humidity can affect success. To improve success, use rooting hormone on the cut end of the branch. This will help with root growth and plant health.
Also, Air Layering is an option to help plants reach potential.
Air Layering
Air layering is a way to get plants to grow roots while still attached to their mother plant. This technique is popular for rubber plants and trees/shrubs. Here’s how:
- Pick a healthy branch, at least 1/2 inch thick.
- Cut a 1 inch slit up the center of the branch.
- Peel back the bark on both sides of the cut.
- Put rooting hormone powder/liquid on the exposed area.
- Wrap it with moistened sphagnum moss and seal with plastic.
- After 4-12 weeks, cut below the newly rooted section and plant in soil.
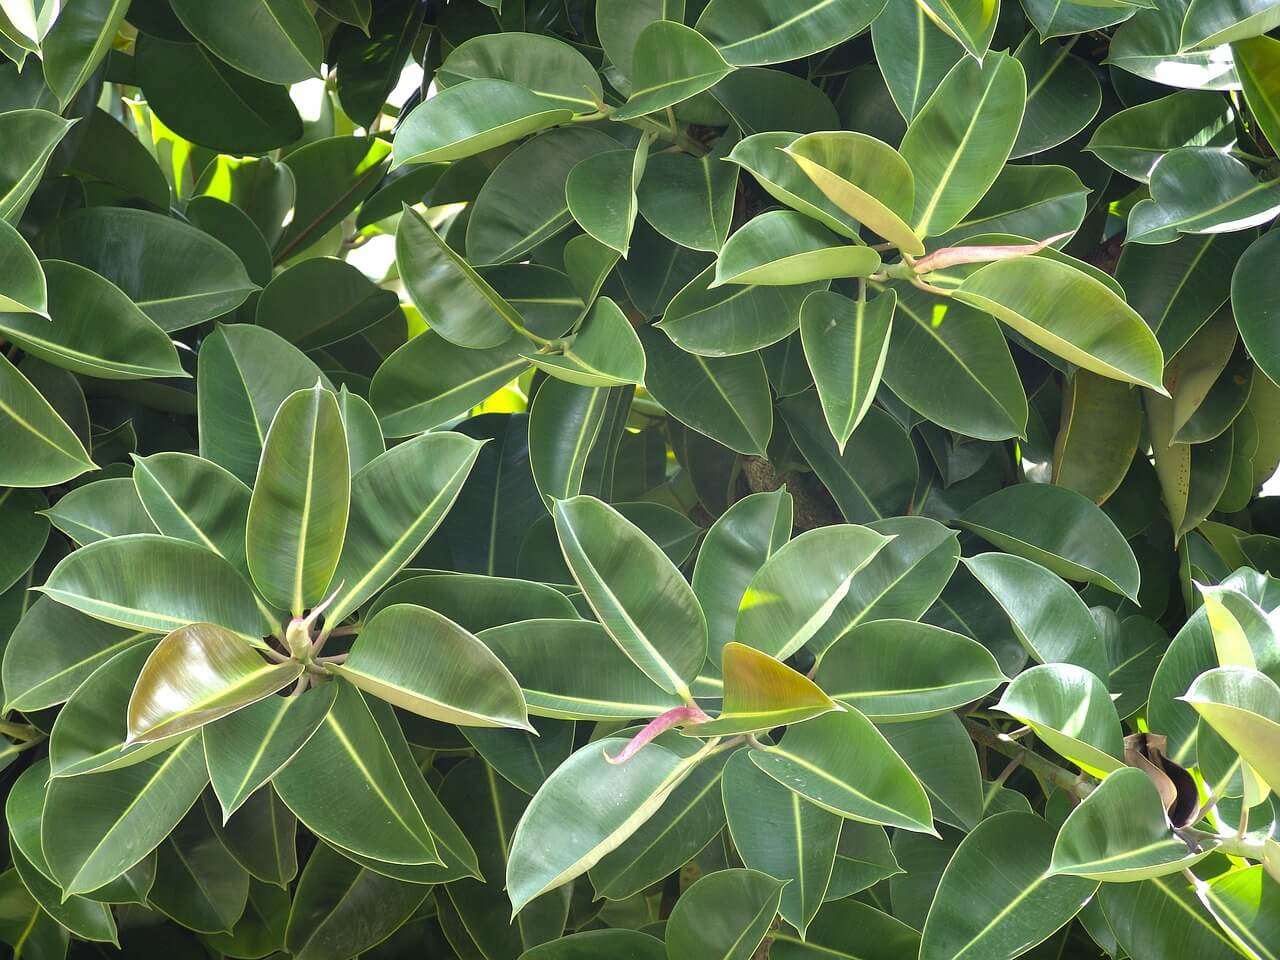
Air layering is slower than other methods, but more successful. Rubber plants have big, eye-catching leaves, up to 12 inches long. Plus, NASA says they can clean air toxins. But don’t forget, if your rubber plant talks to you, it’s time for help!
Conclusion: Tips for Healthy Growth
For healthy growth of your Rubber Plant, here are some tips:
- Provide proper light, but avoid direct sun
- Keep temperature and humidity moderate
- Water it adequately, not over- or under-water
- Fertilize it occasionally to boost growth
- Regularly prune and clean leaves to keep it healthy and looking good
Also, use the right potting soil for your Rubber Plant. Repot when needed.
Remember, while Rubber Plants can grow large, you can control their size with pruning.
Miracle Tip: For maximum growth, use a rooting hormone when propagating plants from cuttings.
Frequently Asked Questions
- How often should I water my rubber plant?
A: Rubber plants like to be kept consistently moist but not overly wet. Water your plant when the top inch of soil feels dry to the touch, usually once a week during warmer months and every 10-14 days in winter.
- Can rubber plants tolerate direct sunlight?
A: Rubber plants can tolerate bright, indirect sunlight but may become scorched if placed in direct sunlight. Place your plant near a window that gets bright light but is shaded by a sheer curtain or blinds.
- How can I keep my rubber plant from dropping leaves?
A: Rubber plants may drop leaves if they are over or under-watered or exposed to extreme temperatures. Keep the soil consistently moist and place your plant in a room with temperatures between 60-80°F.
- Can I prune my rubber plant?
A: Yes, you can prune your rubber plant to encourage bushier growth. Use clean, sharp pruning shears to trim back stems or branches, making angled cuts just above a leaf bud.
- Is it necessary to fertilize my rubber plant?
A: Rubber plants benefit from regular fertilization during their active growing season (spring and summer). Use a balanced, water-soluble fertilizer every 4-6 weeks to provide your plant with necessary nutrients.
- What should I do if my rubber plant becomes infested with pests?
A: Spider mites, mealybugs, and scale insects are common pests that can infest rubber plants. Treat infestations by washing the plant with soapy water or using insecticidal soap spray.